What Are the Best Practices for Creating a Bootable USB Drive?
- Why Create a Bootable USB Drive?
- Choosing the Right USB Drive for Booting
- Best Tools for Creating a Bootable USB Drive
- Step-by-Step Guide for Setting Up a Bootable USB
- Common Issues and Troubleshooting Tips
Why Create a Bootable USB Drive?
Creating a bootable USB drive can be an essential skill for troubleshooting, installing operating systems, or running diagnostic tools on your computer. A bootable USB allows you to boot directly from the USB drive without needing to rely on your computer’s internal hard drive. This can be especially useful if you need to install a new OS, perform a system recovery, or even run a live Linux distribution without modifying your current operating system.
By having a bootable USB, you gain flexibility and portability, allowing you to carry your operating system or recovery tools with you wherever you go. For tech enthusiasts, a bootable USB is a convenient tool to have in case of emergencies like system crashes or when you need to install a fresh copy of your OS.
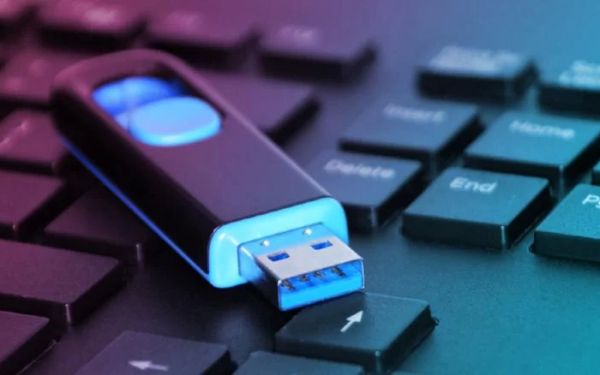
Choosing the Right USB Drive for Booting
When creating a bootable USB drive, the first step is selecting the right USB drive. While any USB drive can work, the size and speed of the USB drive matter significantly. Here’s what to consider:
- Size: Most bootable USB drives require at least 8GB of space, although some OS images may require more. Make sure your USB drive has enough capacity for the operating system or tools you wish to install.
- Speed: USB 3.0 drives are preferred over USB 2.0 drives for faster data transfer. A faster drive will reduce the time it takes to copy the OS files and improve boot times.
- Reliability: Look for a high-quality USB drive from a reputable brand. Reliability is key to ensuring that your bootable drive will work when you need it most.
Best Tools for Creating a Bootable USB Drive
Several free tools can help you create a bootable USB drive, each with its unique features and ease of use. Here are some of the best tools to consider:
- Rufus: Rufus is a free, lightweight tool that is incredibly popular for creating bootable USB drives. It supports a variety of file systems and is known for its ease of use and speed.
- UNetbootin: This cross-platform tool is an excellent option for creating bootable USB drives with Linux distributions. It allows you to either download ISO files directly or use pre-downloaded files.
- Windows Media Creation Tool: If you're setting up a Windows installation USB, this official Microsoft tool is a great choice. It walks you through the process of creating a bootable drive with a fresh Windows image.
Each tool is designed to be user-friendly and supports various formats for creating bootable drives. Choose the one that best suits the operating system or tool you plan to use.
Step-by-Step Guide for Setting Up a Bootable USB
Here’s a simple step-by-step guide to creating a bootable USB drive using the Rufus tool, a popular choice for many users:
- Download and Install Rufus: Visit the Rufus website, download the latest version, and install it on your computer.
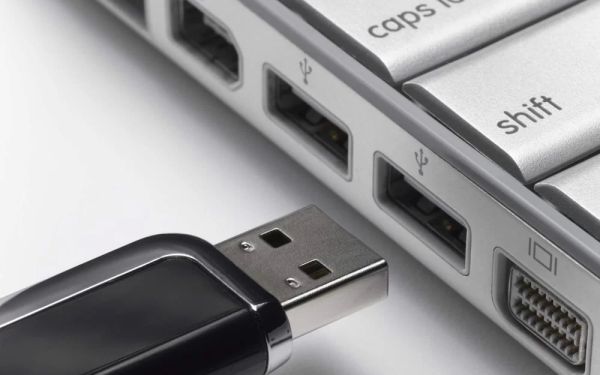
- Insert Your USB Drive: Plug in your USB drive to your computer. Make sure to back up any important data, as the process will erase everything on the drive.
- Select the USB Drive in Rufus: Open Rufus and select your USB drive from the dropdown menu under "Device."
- Choose the Bootable ISO File: In the "Boot selection" dropdown, choose the ISO file for the operating system or tool you want to install.
- Start the Process: Click "Start" to begin creating the bootable USB. Rufus will format the drive and copy the necessary files. The process may take several minutes, depending on the size of the ISO file and the speed of your USB drive.
Once the process is complete, your USB drive will be bootable and ready for use!
Common Issues and Troubleshooting Tips
Even with the best tools, you may encounter a few issues when creating a bootable USB. Here are some common problems and how to troubleshoot them:
- USB Not Detected: Make sure the USB drive is properly connected and recognized by your computer. Try a different port or USB drive if needed.
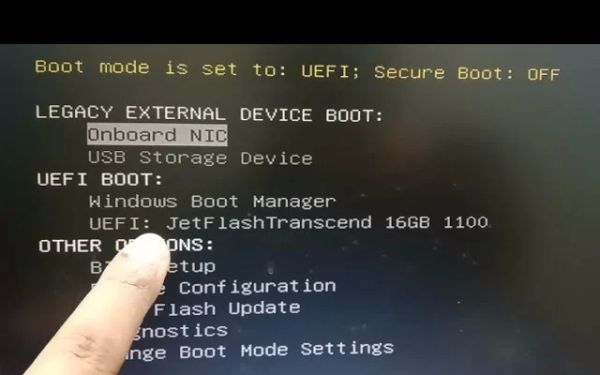
- Boot Failure: If the USB drive fails to boot, double-check the boot order in the BIOS/UEFI settings to ensure that the USB is set as the primary boot device.
- ISO File Corruption: If the installation or tool is not loading correctly, the ISO file might be corrupted. Try downloading it again from a reliable source.
These issues are relatively easy to resolve, and by following the troubleshooting steps, you can quickly get your bootable USB up and running again.