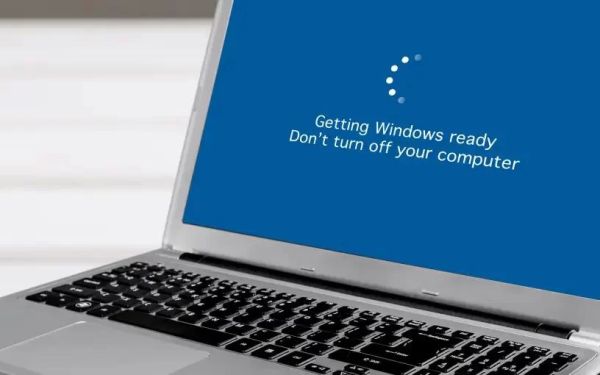
How to Use a USB to Fix Common Booting Errors on Windows
- Create a Bootable USB Drive
- Access Windows Recovery Options
- Run Startup Repair from USB
- Use Command Prompt for Advanced Fixes
- Reinstall Windows If Necessary
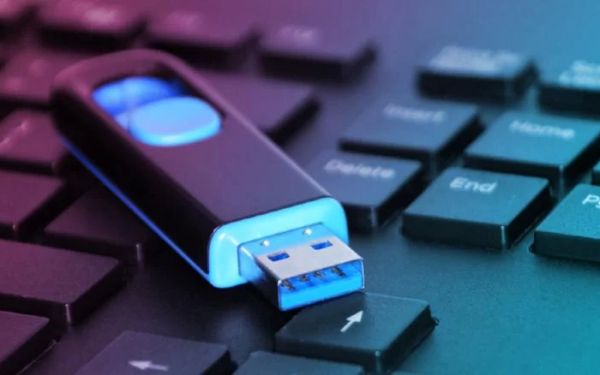
1. Create a Bootable USB Drive
To fix booting errors on Windows, first, create a bootable USB drive. Use the Windows Media Creation Tool to download and install a Windows recovery image onto your USB drive.
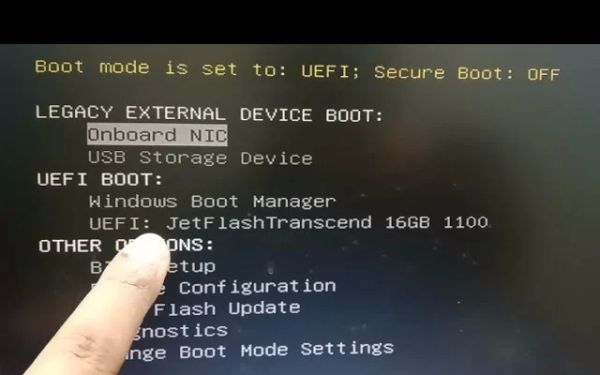
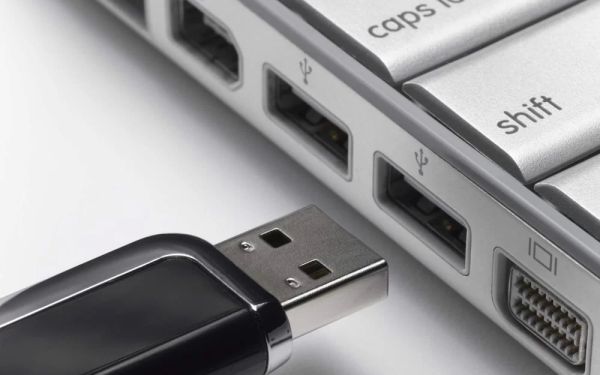
2. Access Windows Recovery Options
Insert the bootable USB drive into your PC and restart it. Press the required key (such as F2, F12, or Esc) to access the boot menu. Select your USB drive to boot into the Windows recovery environment.
3. Run Startup Repair from USB
Once in the Windows recovery environment, select Troubleshoot > Advanced Options > Startup Repair. This will automatically detect and fix common boot issues preventing Windows from loading.
4. Use Command Prompt for Advanced Fixes
If Startup Repair doesn’t work, open Command Prompt from the Advanced Options menu. Use commands like bootrec /fixmbr, bootrec /fixboot, and bootrec /rebuildbcd to repair the bootloader manually.
5. Reinstall Windows If Necessary
If other fixes fail, you may need to reinstall Windows. In the recovery menu, select Reset this PC or perform a clean installation from the bootable USB drive. Make sure to back up important files before proceeding.
Looking for a secure and reliable bootable USB solution? Visit Ninja Stik for high-performance bootable USB drives designed for Windows troubleshooting.