1. What is a Bootable USB Drive and Why is it Useful?
A bootable USB drive is an external storage device that contains an operating system (OS) or recovery tool, allowing you to boot a computer and repair it without relying on the internal hard drive. This is particularly helpful when your computer won't start or the system files are corrupted. Whether you're dealing with a malware attack, system crash, or hardware issues, a bootable USB can often provide the solution.
The key benefit of using a bootable USB drive for computer repairs is its portability. You can use it on multiple devices, making it a versatile tool for diagnosing and fixing common issues. It's also a cost-effective option since you don't need to pay for expensive repair services or replacement parts in many cases.
2. Preparing Your Bootable USB Drive
Before you can use a bootable USB drive for repairing your computer, you'll need to create it. Here’s how to do it:
Step 1: Choose the Right Tool
The first step is to download the necessary software. Popular tools for creating bootable USB drives include Rufus, Windows Media Creation Tool, and UNetbootin. Each of these tools is free and easy to use. Make sure to select the version that corresponds to your operating system.
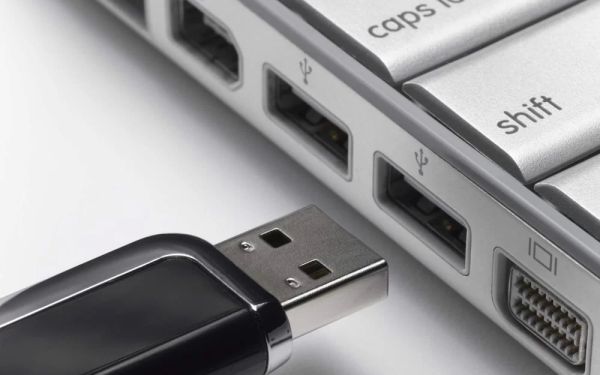
Step 2: Prepare the USB Drive
Insert your USB drive into a functioning computer. The drive should be at least 8GB of free space, as the OS or recovery tool you’re going to install will take up some room. Make sure to back up any important files from the USB drive, as creating a bootable drive will erase all data on it.
Step 3: Create the Bootable USB
Open your chosen tool and follow the instructions to create a bootable drive. For Windows, you can use the Windows Media Creation Tool to download and transfer the OS onto the USB. For Linux, tools like Rufus or UNetbootin can be used to install a Linux distribution or repair tool.
3. Troubleshooting and Repairing Your Computer Using the Bootable USB Drive
Once your bootable USB drive is ready, it's time to use it for repairs. Follow these steps:
Step 1: Boot from the USB Drive
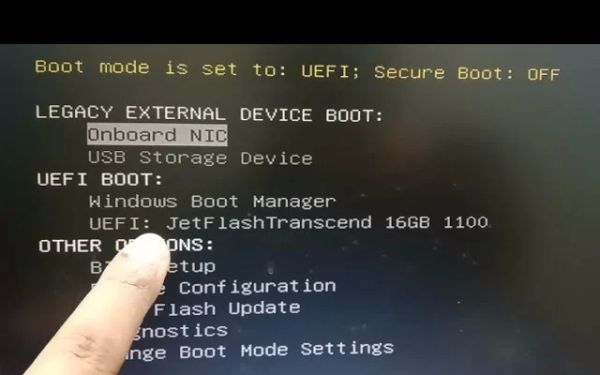
Insert the bootable USB drive into the computer you want to repair. Power it on and immediately press the appropriate key to enter the BIOS or boot menu (usually F12, F2, or ESC, depending on the manufacturer). From the boot menu, select the USB drive as your boot device and press enter.
Step 2: Run the Repair Tool
After booting into the USB drive, you’ll be presented with various options depending on the OS or tool installed. If you're using a Windows recovery drive, select the option to "Repair your computer" and follow the on-screen instructions to fix issues like startup problems or system file corruption.
Step 3: Execute Diagnostics or Restore Points
Most repair tools come with built-in diagnostics. You can use these tools to check your hard drive's health, fix boot issues, or restore your system to an earlier point. If necessary, you can also reinstall the OS to resolve more severe problems.
4. Case Study: A Real-Life Example of Using a Bootable USB Drive to Repair a Computer
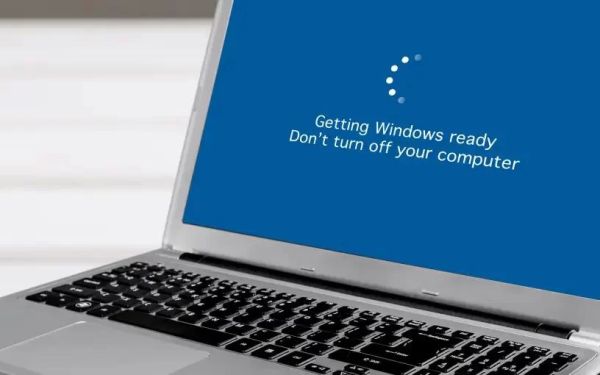
Let’s look at a real-life example of how a bootable USB drive can help repair a computer. Recently, a user encountered a system crash on their Windows 10 laptop. The operating system wouldn’t boot, and the user was unable to access their files. Using a bootable USB drive created with Windows Media Creation Tool, they were able to boot into the recovery environment, run a system restore, and resolve the issue without losing any data.
This case highlights the power of having a bootable USB drive on hand. It saved time, reduced stress, and prevented the need for costly repair services.
5. Tips and Tools to Enhance Your Computer Repair Process
While the bootable USB drive is a fantastic tool for repairing computers, there are additional resources and strategies you can use to improve the process:
Tip 1: Keep Your Repair Tools Updated
Ensure that your bootable USB drive contains the latest version of the OS or recovery tools. This will ensure that your repair tool is compatible with the most recent software updates and drivers.
Tip 2: Backup Regularly
Before performing any repairs, it's a good idea to back up your data. If your system issues are related to hardware failure, you don’t want to risk losing your files during the repair process.
6. How to Purchase a Bootable USB Drive for Efficient Computer Repair
If you’re not comfortable creating your own bootable USB drive or simply need one quickly, there are plenty of pre-made options available for purchase. One such option is Ninja Stik, which offers high-quality bootable USB drives that come preloaded with various repair tools and operating systems. These drives are ready to use out of the box, saving you time and hassle.
Visit Ninja Stik to explore more about their pre-configured bootable USB drives and take the next step in protecting your devices from future issues.