How to Recover Files Using a Bootable USB Drive: A Complete Guide
- 1. Why Use a Bootable USB Drive for File Recovery?
- 2. Steps to Create a Bootable USB Drive for File Recovery
- 3. How to Recover Files Using a Bootable USB Drive
- 4. Common Issues When Using Bootable USB for File Recovery
1. Why Use a Bootable USB Drive for File Recovery?
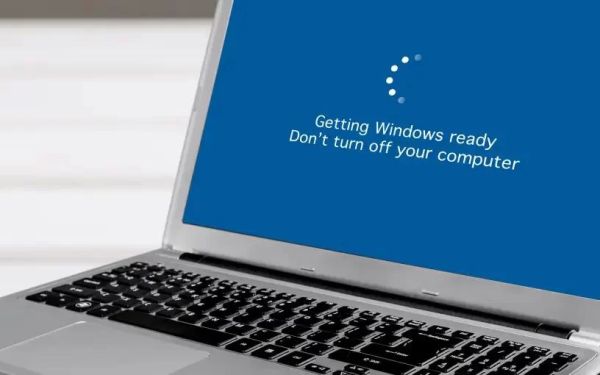
When your computer's operating system fails to load, or files seem to have disappeared, using a bootable USB drive for file recovery is a powerful solution. A bootable USB drive allows you to bypass your computer's operating system, providing direct access to the hard drive to recover lost files.
This method is especially useful when the internal hard drive becomes corrupted, or when you're unable to access the system through standard means. Whether your files were accidentally deleted or you are facing a system crash, a bootable USB drive can help recover files without overwriting any data.
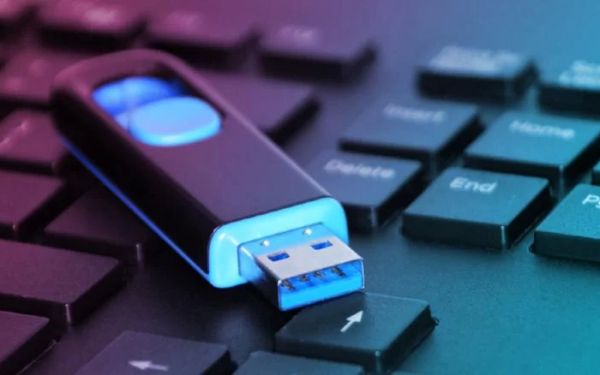
2. Steps to Create a Bootable USB Drive for File Recovery
Creating a bootable USB drive is relatively straightforward. Follow these steps to get started:
- Step 1: Choose a recovery software. Some popular options include Ninja Stik, EaseUS, or Recuva.
- Step 2: Download the recovery software and prepare a USB drive with at least 8GB of space.
- Step 3: Follow the instructions provided by the software to create a bootable USB. Typically, you’ll need to select the USB drive and the desired recovery software image.
- Step 4: After the USB drive is ready, safely eject it and prepare to boot the target computer from the USB drive.
Once the bootable USB is created, you’ll be ready to recover files from any computer, even if the operating system isn’t functioning correctly.
3. How to Recover Files Using a Bootable USB Drive
Now that your bootable USB drive is ready, follow these steps to recover your files:
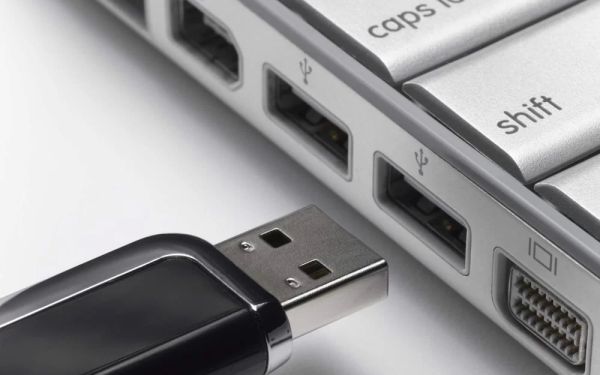
- Step 1: Insert the bootable USB drive into the computer that you want to recover files from.
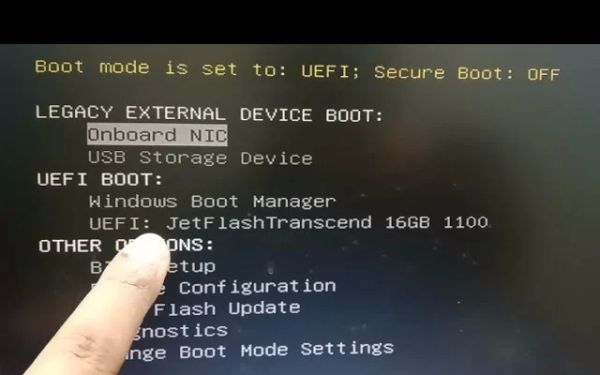
- Step 2: Restart the computer and enter the BIOS settings (usually by pressing a key like F2, F10, or DEL during startup).
- Step 3: Set the USB drive as the primary boot device in the boot menu.
- Step 4: Save changes and reboot. The computer will boot from the USB drive instead of the internal hard drive.
- Step 5: Once the recovery software loads, follow the on-screen prompts to scan your hard drive for deleted or lost files.
- Step 6: Select the files you want to recover and choose a safe location (preferably another USB drive or external storage) to save them.
After completing the steps, your lost files should be restored. This method is effective in recovering documents, photos, and other important files without causing any further damage to your system.
4. Common Issues When Using Bootable USB for File Recovery
While using a bootable USB drive for file recovery is usually a straightforward process, there are a few common issues that users may encounter:
- Problem 1: The computer won’t boot from the USB drive.
- Problem 2: The recovery software doesn’t detect the hard drive.
- Problem 3: Files cannot be fully recovered.
Solution: Double-check that the USB drive is properly formatted and that the BIOS settings are correctly configured to boot from USB.
Solution: Ensure that the hard drive is properly connected and not physically damaged. Try using a different recovery tool if necessary.
Solution: If the files are heavily corrupted, professional data recovery services may be required for a more thorough recovery.
By being aware of these potential issues and solutions, you can ensure a smoother experience when using a bootable USB drive for file recovery.
Ready to recover your files using a bootable USB drive? Start by visiting Ninja Stik for a powerful, user-friendly tool that makes file recovery a breeze. Whether you're dealing with a simple file deletion or a more complex system failure, Ninja Stik offers an affordable solution for retrieving your lost data.