How to Make a Bootable USB Drive for Virus Removal
- 1. Introduction to Bootable USB Drives
- 2. Choosing the Right Virus Removal Tool
- 3. Creating the Bootable USB Drive
- 4. The Virus Removal Process
- 5. Tips for Effective Virus Removal
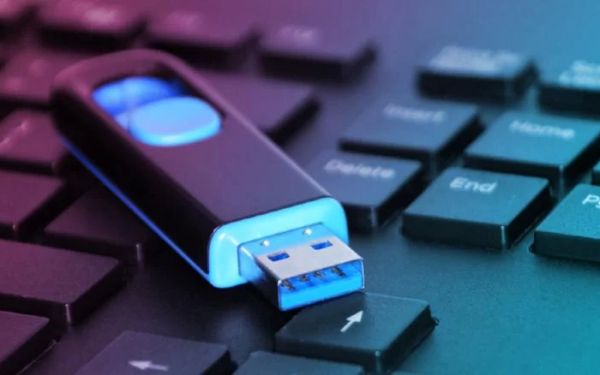
1. Introduction to Bootable USB Drives
When your system is infected with a virus, one of the most effective solutions is using a bootable USB drive. This allows you to bypass the operating system and run a virus removal tool independently. Creating a bootable USB drive for virus removal can help fix an infected system without risking further damage or data loss.
2. Choosing the Right Virus Removal Tool
The first step in creating a bootable USB for virus removal is selecting the right software. Many tools can help remove viruses, but not all are suitable for use from a bootable USB. Some popular options include:
2.1. Windows Defender Offline
This built-in Windows tool is great for removing malware before Windows fully loads. It’s easy to use and integrates well with other Windows recovery tools.
2.2. Kaspersky Rescue Disk
Kaspersky offers a powerful virus scanning and removal tool that works from a bootable USB. It provides a deep scan and is highly effective at removing various types of malware.
2.3. Bitdefender Rescue CD
Bitdefender’s Rescue CD provides a comprehensive malware scanning solution, which is ideal for deeper infections. It’s a strong choice for users who need thorough virus removal.
3. Creating the Bootable USB Drive
Now that you’ve selected your tool, it’s time to create the bootable USB drive. Here’s a step-by-step guide:
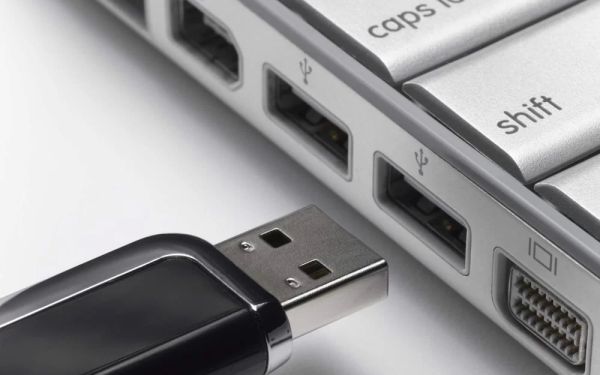
3.1. Prepare the USB Drive
First, make sure your USB drive is at least 4GB in size. Format it using FAT32 or NTFS (depending on the virus removal tool’s requirements).
3.2. Download the Virus Removal Tool
Next, download the chosen virus removal software onto your computer. Many tools offer ISO files that can be written directly to the USB drive.
3.3. Use a Tool to Make It Bootable
To create the bootable USB, use software like Rufus or Windows USB/DVD Download Tool. These programs allow you to select the ISO file and write it to the USB drive, making it bootable.
4. The Virus Removal Process
Once your bootable USB drive is ready, follow these steps to remove viruses:
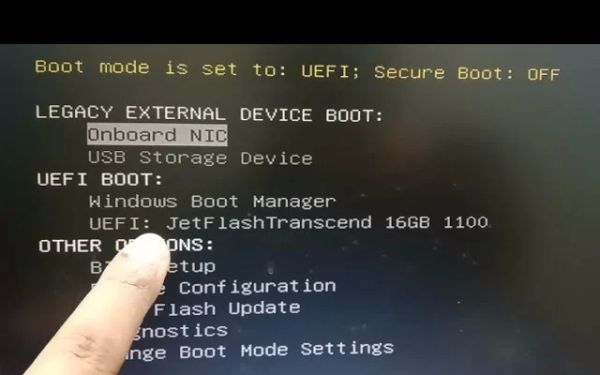
4.1. Boot From the USB
Insert the USB drive into the infected computer and restart it. You’ll need to enter the BIOS or UEFI settings (usually by pressing a key like F2, F10, or ESC) and set the USB drive as the primary boot device.
4.2. Scan for Viruses
Once your computer boots from the USB, the virus removal tool should launch automatically. Run a full system scan to detect and remove malware.
4.3. Follow the Prompts
Follow any on-screen instructions provided by the virus removal tool. Most tools will give you options for handling detected threats, such as quarantining or deleting infected files.
5. Tips for Effective Virus Removal
To ensure the virus removal process goes smoothly, here are a few tips:
5.1. Keep Your Antivirus Software Updated
Even before you need to use a bootable USB, ensure that your regular antivirus software is up-to-date. Prevention is key to keeping your system safe.
5.2. Perform Regular Backups
Regular backups are essential to protecting your data. In case a virus wipes your system, having a backup can save you from losing important files.
5.3. Use Strong Passwords
Incorporate strong, unique passwords for all your accounts to prevent malware from gaining unauthorized access to your system.