- 1. Preparing the Bootable USB Drive
- 2. Configuring BIOS for Booting from USB
- 3. Installing Windows 10 from the Bootable USB Drive
- 4. Troubleshooting Common Installation Issues
- 5. After Windows 10 is Installed: What to Do Next
1. Preparing the Bootable USB Drive
Before you can install Windows 10 from a bootable USB drive, the first step is to create that bootable USB drive. To do this, you'll need a few things:
- A USB drive with at least 8GB of space: The larger, the better, to ensure the full installation files can fit.
- A Windows 10 ISO file: This can be downloaded from Microsoft’s official website.
- Windows Media Creation Tool: This tool will help you download and install the Windows 10 ISO onto the USB drive.
Once you’ve gathered these tools, download and run the Media Creation Tool. Follow the prompts to create a bootable USB drive. After it finishes, your USB drive is ready for installation.
2. Configuring BIOS for Booting from USB
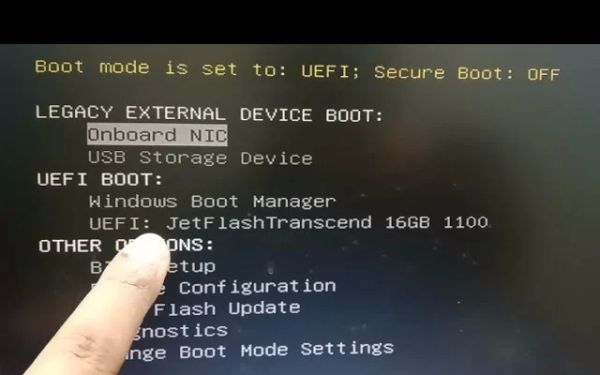
Next, you need to configure your computer’s BIOS or UEFI settings to boot from the USB drive. This is an essential step in the process of installing Windows 10 from a bootable USB drive. Here’s how to do it:
- Restart your computer and access BIOS/UEFI settings (usually by pressing the F2, F12, or Delete key as soon as the computer turns on).
- Navigate to the Boot menu and set the USB drive as the primary boot device. This ensures the computer boots from the USB drive rather than the hard drive.
- Save and exit BIOS/UEFI. Your computer will now restart and boot from the USB drive.
Once your computer boots from the USB drive, you’re ready to start the Windows 10 installation process.
3. Installing Windows 10 from the Bootable USB Drive
With the bootable USB drive set up and your BIOS configured, the next step is to install Windows 10. Follow these steps:
- Choose your language and region: The Windows setup will ask you to select your preferred language and region.
- Click "Install Now": This will start the installation process. You may be prompted to enter a product key. If you don’t have one, you can skip this step and activate Windows later.
- Select the drive to install Windows on: Choose the partition or drive where you want Windows 10 to be installed. Make sure you have backed up your data, as this will erase everything on that partition.
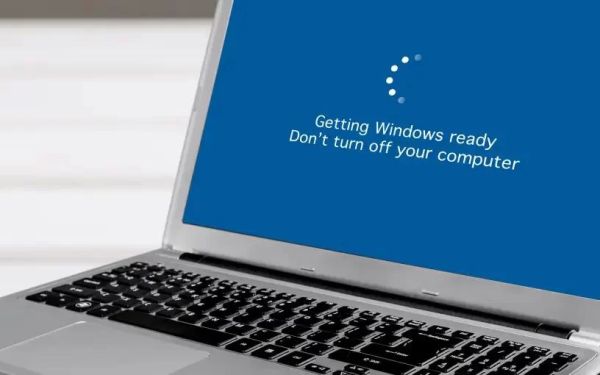
- Wait for Windows to install: The installation process can take some time. Your computer will reboot several times during the installation.
Once the installation is complete, Windows 10 will guide you through the initial setup, including creating user accounts and setting up preferences.
4. Troubleshooting Common Installation Issues
While installing Windows 10 from a bootable USB drive is typically straightforward, some common issues may arise. Here are a few solutions:
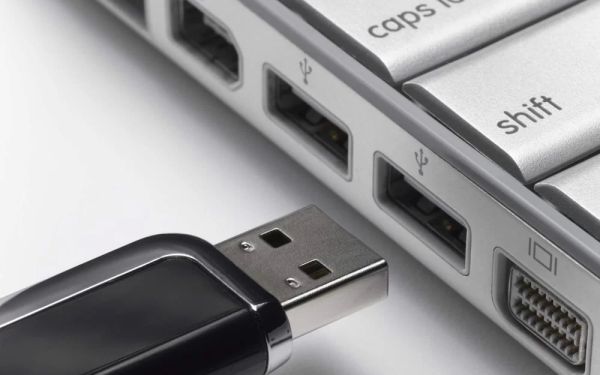
- USB drive is not recognized: Make sure your USB drive is properly formatted and inserted into a working USB port. You may also need to check BIOS settings to ensure USB boot is enabled.
- Installation fails to start: If the Windows installation doesn’t start, it could be due to a corrupted ISO file or an issue with the USB drive. Try recreating the bootable USB drive with the Media Creation Tool.
- Partition issues: Sometimes, the partition where you want to install Windows may have issues. You can delete and recreate partitions during the installation process.
Most issues can be resolved by double-checking your hardware connections and reinstalling the Windows setup from the USB drive.
5. After Windows 10 is Installed: What to Do Next
Once Windows 10 is installed, it’s time to complete the setup and personalize your computer. Here’s what you need to do:
- Install drivers: Make sure to install all necessary drivers for your hardware, especially the graphics, audio, and network drivers.
- Activate Windows: If you skipped the activation step earlier, make sure to enter your product key to activate Windows 10.
- Install updates: Go to Settings > Update & Security and check for the latest updates to keep your system secure and running smoothly.
- Set up backups: Consider setting up a backup plan, either through Windows Backup or third-party software, to protect your data.
With these steps completed, you’re now ready to enjoy the full experience of Windows 10 on your system. If you’re looking for more resources to help with the installation or products to enhance your computer setup, check out the offerings at Ninja Stik.