How to Create a Bootable USB Drive for BIOS Updates: A Step-by-Step Guide
- 1. Why You Need to Create a Bootable USB Drive for BIOS Updates
- 2. Requirements for Creating a Bootable USB Drive
- 3. Step-by-Step Instructions to Create Your Bootable USB
- 4. Troubleshooting Common Issues
- 5. Best Practices for BIOS Updates
1. Why You Need to Create a Bootable USB Drive for BIOS Updates
Updating your BIOS can resolve system bugs, improve hardware compatibility, and enhance overall system performance. However, updating the BIOS isn't as simple as installing regular software updates. You must perform this process via a bootable USB drive because BIOS updates typically cannot be run from within the operating system itself. Creating a bootable USB drive ensures that you can perform the update safely and effectively, even if your system is experiencing issues.
2. Requirements for Creating a Bootable USB Drive
Before you begin creating a bootable USB drive for BIOS updates, ensure that you have the following:
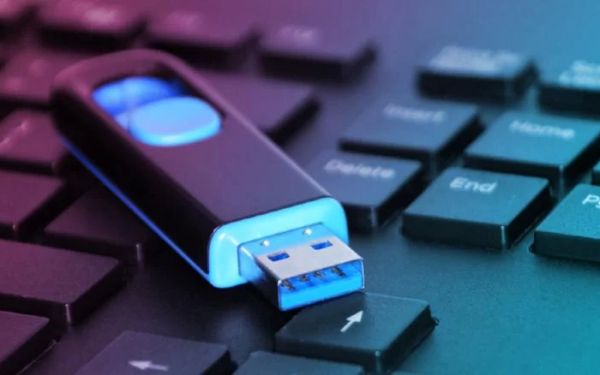
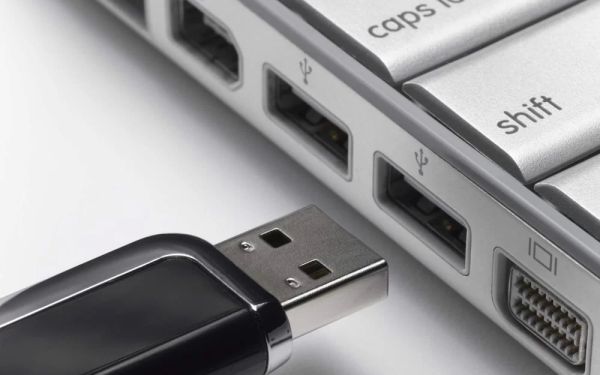
- A USB Flash Drive: You'll need a USB drive with at least 4GB of storage to create a bootable BIOS update drive.
- BIOS Update File: Download the latest BIOS update file from your motherboard or laptop manufacturer's website.
- Software Tools: Tools like Rufus or the Windows USB/DVD Download Tool are used to create the bootable USB drive.
- System Backup: Always back up your system before proceeding with BIOS updates to avoid data loss in case of failure.
3. Step-by-Step Instructions to Create Your Bootable USB
Now that you have all the necessary tools, follow these simple steps to create a bootable USB drive for BIOS updates:
- Format the USB Drive: Insert your USB drive into your computer. Open 'This PC' or 'My Computer,' right-click the USB drive, and select 'Format.' Ensure the file system is set to 'FAT32' for compatibility.
- Download BIOS Update: Go to your computer or motherboard manufacturer's website and download the latest BIOS update file. This will often be a compressed folder with the BIOS file inside.
- Download and Open Rufus: Download Rufus from the official website and install it. Open the application and select your USB drive from the 'Device' dropdown menu.
- Configure Rufus: In the 'Boot Selection' dropdown, choose 'FreeDOS' (or the correct bootable option for your system). Leave other settings at their defaults unless specified otherwise by the BIOS update instructions.
- Start the Process: Click 'Start' in Rufus. This will prepare your USB drive to boot and load the BIOS update tool.
- Copy BIOS Update Files: After Rufus finishes, copy the BIOS update files from the folder you downloaded onto the USB drive.
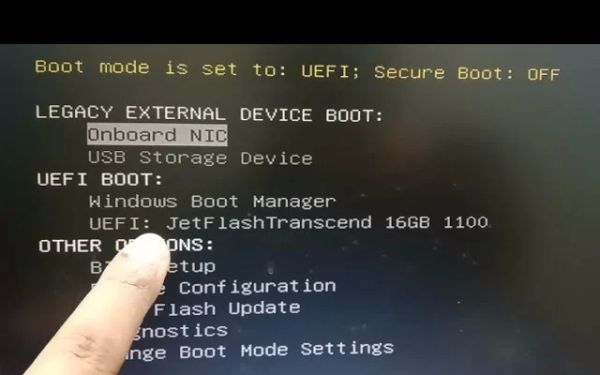
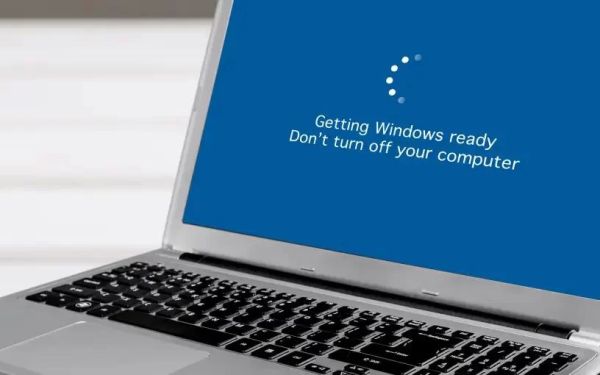
- Boot from USB: Restart your computer, and during boot, enter the BIOS by pressing the required key (usually F2, DEL, or ESC). From the boot menu, select your USB drive to boot from it.
- Update BIOS: Once the system boots from the USB, follow the on-screen instructions to update your BIOS. Be sure not to interrupt the process to avoid bricking your system.
4. Troubleshooting Common Issues
If you run into any issues during the process, here are a few common problems and how to resolve them:
- USB Not Booting: Make sure the USB drive is set as the primary boot device in your BIOS. If it still doesn't work, try using a different USB port or reformatting the USB drive.
- BIOS File Not Recognized: Verify that you've copied the correct BIOS update file and that it's in the right format. Follow the manufacturer's instructions to ensure you have the correct file.
- Failed BIOS Update: If the update fails, try downloading the file again and repeat the process. In case of a critical failure, contact your manufacturer's support for assistance.
5. Best Practices for BIOS Updates
To ensure a smooth and safe BIOS update process, here are some best practices:
- Always Backup Your Data: Backup your important files and data before updating the BIOS, as the process can sometimes lead to data loss.
- Read the Manufacturer’s Instructions: Each motherboard or system manufacturer may have specific steps or precautions when updating the BIOS. Be sure to read the guidelines carefully before proceeding.
- Don’t Interrupt the Update: Interrupting a BIOS update could cause irreversible damage to your system, so avoid turning off your PC or removing the USB drive during the process.
- Check for Compatibility: Ensure the BIOS update is compatible with your exact model and hardware configuration to prevent any system instability.