How to Boot Your Acer from USB: A Complete Guide to Acer USB Boot Process
- Why Booting from USB is Useful
- Preparing Your Acer for USB Boot
- Step-by-Step Guide to Booting Acer from USB
- Troubleshooting Common Issues with USB Boot
- Real-Life Experience with Acer USB Boot
Why Booting from USB is Useful
Booting from a USB drive is a highly useful feature for Acer users, whether you're looking to install a new operating system, troubleshoot a system issue, or run a live session of Linux. The USB boot process is fast and flexible, offering an alternative to traditional hard drive booting, especially when the internal operating system is corrupted or when you need to run specific software that doesn't need installation. Understanding how to boot from USB on your Acer device can provide you with a powerful troubleshooting tool and a more efficient way to manage your computer’s startup process.
Preparing Your Acer for USB Boot
Before you can boot from a USB drive on your Acer laptop or desktop, you need to ensure that your device is configured correctly. Here’s how to prepare your Acer for USB booting:
- Ensure USB Boot is Enabled in BIOS: On most Acer devices, booting from USB is disabled by default. You need to enable it through the BIOS (Basic Input/Output System) settings.
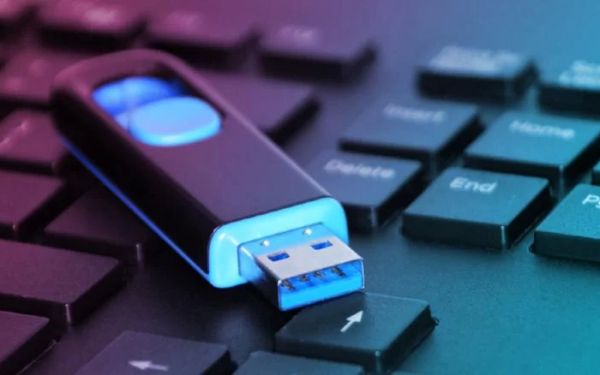
- Use a Bootable USB Drive: Ensure your USB drive is bootable. You can create a bootable USB with tools like Rufus or use a pre-made bootable drive containing an operating system or recovery tool.
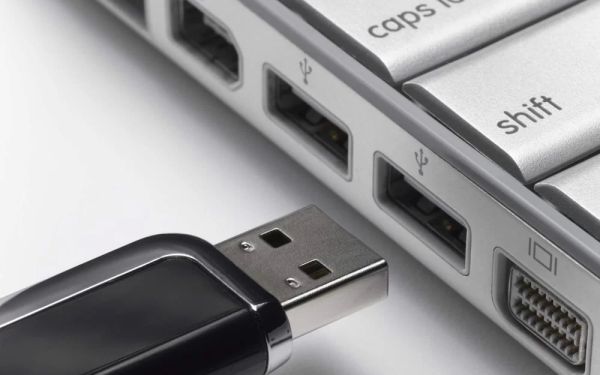
- Insert the USB Drive: Plug the bootable USB drive into a USB port on your Acer laptop or desktop. Make sure the drive is correctly formatted and contains the bootable files.
Step-by-Step Guide to Booting Acer from USB
Now that you’ve prepared your Acer device for USB booting, here’s a detailed step-by-step guide on how to boot your Acer from a USB drive:
- Restart Your Acer: Begin by restarting your Acer laptop or desktop.
- Enter BIOS Setup: As your Acer starts up, press the F2 key repeatedly to enter the BIOS setup. Some models may use other keys, such as Del, so check your device’s manual if F2 doesn’t work.
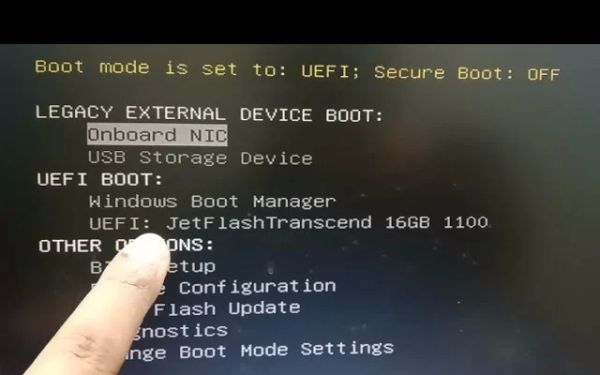
- Navigate to Boot Options: Inside the BIOS, use the arrow keys to navigate to the “Boot” tab. This is where you will find the options to select the boot device.
- Enable USB Boot: If USB boot is disabled, use the arrow keys to select the option to enable it. In some cases, you may need to change the boot priority, so the USB drive is listed as the first boot device.
- Save and Exit BIOS: After enabling USB boot, save your changes by pressing F10 or selecting “Save and Exit” from the BIOS menu.
- Boot from USB: With your bootable USB drive inserted, the Acer should now boot directly from the USB device. If it doesn’t, you may need to enter the boot menu (usually by pressing F12) and manually select the USB drive as the boot device.
Troubleshooting Common Issues with USB Boot
If you encounter issues while booting your Acer from a USB drive, here are some common problems and how to resolve them:
- USB Drive Not Detected: Ensure the USB drive is properly inserted and formatted correctly. If the drive is not recognized, try using a different USB port or another USB drive to rule out hardware issues.
- Wrong Boot Order: If your Acer is not booting from the USB device, double-check the boot priority in the BIOS. Make sure that USB boot is set as the primary option before the hard drive or other devices.
- USB Drive is Not Bootable: If the USB drive is not recognized as bootable, use tools like Rufus or other bootable USB creators to make sure the USB drive is correctly formatted and has the right bootable files installed.
- BIOS Version Compatibility: In some rare cases, your Acer device may require a BIOS update to properly boot from USB. Check the Acer website for your device’s specific BIOS version and update instructions.
Real-Life Experience with Acer USB Boot
Many Acer users have successfully used the USB boot feature for various purposes. For instance, Alex, a tech enthusiast, found the Acer USB boot option invaluable when he had to reinstall Windows after his system crashed. “I created a bootable USB with the latest Windows installation files and booted my Acer from the USB in minutes. The process was smooth, and I was able to get my system up and running quickly,” Alex shared.
Similarly, Emily, a student, uses the USB boot feature to run a Linux OS on her Acer laptop. “I wanted to explore Linux without affecting my main operating system, so I booted my Acer from a USB drive. It was a seamless experience, and now I have access to a powerful OS right on my laptop,” Emily said.
If you’re ready to dive into the Acer boot from USB process and explore its many uses, visit Ninja Stik for additional guides, tips, and tools to enhance your Acer device’s capabilities. Get the most out of your laptop today!