How to Boot Laptop from USB: Step-by-Step Guide for a Successful Startup
- Preparing a Bootable USB Drive
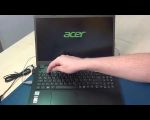
- Accessing the Boot Menu
- Changing Boot Order in BIOS
- Troubleshooting USB Boot Issues
- Best Practices for Booting from USB
Preparing a Bootable USB Drive
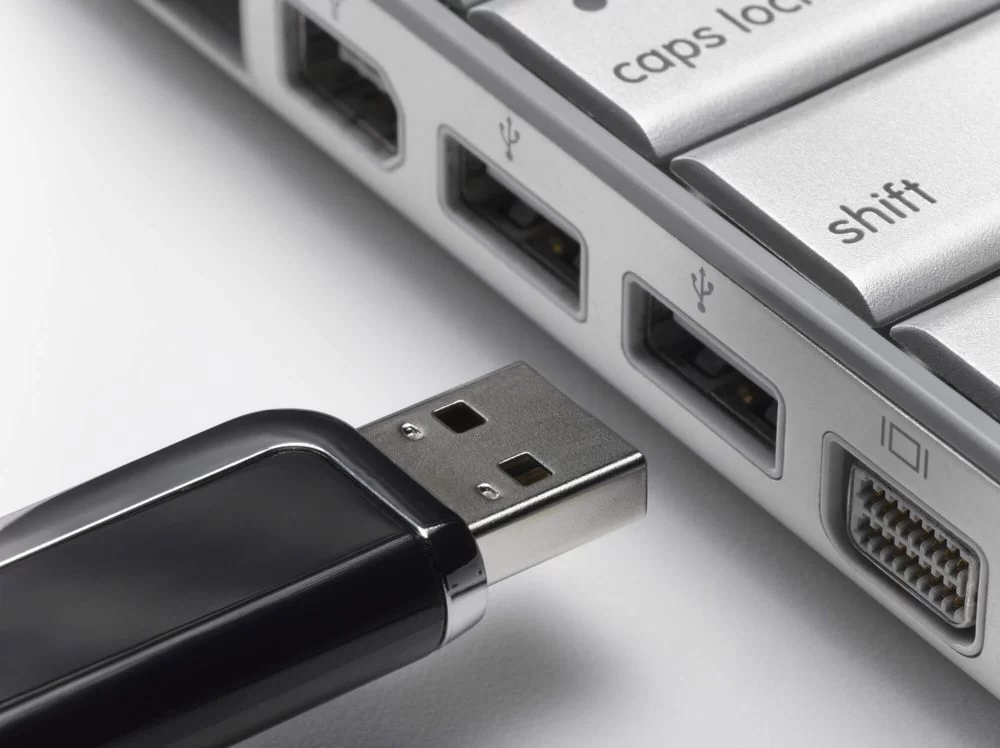
Before you can boot your laptop from a USB, you need to create a bootable USB drive. This involves downloading the necessary operating system files and using a tool to make the USB drive bootable. For instance, if you're installing Windows, you can use the Windows Media Creation Tool to create a bootable USB drive. Similarly, for Linux distributions, tools like Rufus or UNetbootin are excellent choices.
Ensuring that your USB drive has enough storage space and is properly formatted is crucial. A typical bootable USB drive requires at least 8GB of space, and formatting it to FAT32 or NTFS is usually recommended depending on the operating system you're planning to install.
Changing Boot Order in BIOS
Sometimes, accessing the boot menu directly might not work, or you may prefer to set the USB drive as the primary boot device permanently. This requires changing the boot order in the BIOS settings. To do this, enter the BIOS by pressing the BIOS key (often F10, F2, or DEL) during startup.
Once in the BIOS, navigate to the Boot tab using the arrow keys. Here, you can change the order of boot devices by moving the USB drive to the top of the list. After making the changes, save and exit the BIOS. Your laptop should now prioritize booting from the USB drive whenever it's connected.
It's important to handle BIOS settings carefully. Incorrect configurations can affect your laptop's performance. Always make a note of any changes you make so you can revert them if needed.
Troubleshooting USB Boot Issues
Even after following the correct steps, you might encounter issues when trying to boot from a USB drive. Here are some common problems and their solutions:

Action Computers Inc. -- Denver Location
2890 S Colorado Blvd F, Denver, CO 80222, USA
1. USB Drive Not Recognized
If your laptop does not recognize the USB drive, ensure that it is properly formatted and that the bootable files are correctly installed. Try using a different USB port or a different USB drive to rule out hardware issues.
2. Boot Menu Not Accessible
Sometimes, the boot menu may not appear even after pressing the correct key. Ensure that you are pressing the key at the right time during the startup process. If it still doesn't work, check your laptop’s manual for the correct key or consult the manufacturer’s website for support.
3. Incompatible Bootable Media
If the bootable USB is not compatible with your laptop’s hardware or operating system, it might fail to boot. Verify that the bootable media matches your laptop's specifications and the operating system you intend to install.
4. Secure Boot Enabled
Some laptops have Secure Boot enabled in the BIOS, which can prevent booting from unauthorized USB drives. Disable Secure Boot in the BIOS settings to allow booting from your USB drive.
Best Practices for Booting from USB
To ensure a smooth and successful booting process from USB, consider the following best practices:
1. Use High-Quality USB Drives
Using high-quality USB drives can prevent data corruption and ensure faster boot times. USB 3.0 or higher is recommended for better performance and reliability.
2. Keep Your BIOS Updated
Regularly updating your BIOS can resolve compatibility issues and improve system stability. Visit your laptop manufacturer’s website to download and install the latest BIOS updates.
3. Verify Bootable Media Integrity
Always verify the integrity of your bootable media by checking the file hashes or using trusted tools to create the bootable USB. This ensures that the installation files are not corrupted or tampered with.
4. Backup Important Data
Before attempting to boot from USB or install a new operating system, back up your important data to prevent data loss in case of any issues during the process.
5. Follow Manufacturer Guidelines
Different laptops may have specific requirements or steps for booting from USB. Always refer to your laptop’s user manual or the manufacturer’s support resources for detailed instructions tailored to your model.