How to Boot from USB on Dell Laptops: A Complete Guide
- Why Boot from USB on Dell Laptops?
- How to Create a Bootable USB for Dell
- How to Access the Boot Menu on Dell Laptops
- Troubleshooting USB Boot Issues on Dell Devices
- Alternative Boot Methods for Dell Laptops
1. Why Boot from USB on Dell Laptops?
Booting from a USB drive on a Dell laptop can be incredibly useful for several reasons. Whether you're looking to install a new operating system, run diagnostic tools, or perform system recovery, a bootable USB drive offers a flexible and efficient solution. This method can be especially helpful in situations where your laptop’s internal hard drive is not functioning or you want to perform a fresh OS installation.
One common reason users boot from USB is to install a new version of Windows or Linux. By using a USB drive, you can bypass the existing OS and start the installation process from scratch. Additionally, booting from USB is often the go-to solution for system recovery, allowing you to restore your Dell laptop to factory settings if necessary.
2. How to Create a Bootable USB for Dell
Before you can boot from USB on your Dell laptop, you’ll need to create a bootable USB drive. This process may seem complicated at first, but it's straightforward once you break it down. Here's how you can create a bootable USB for your Dell laptop:
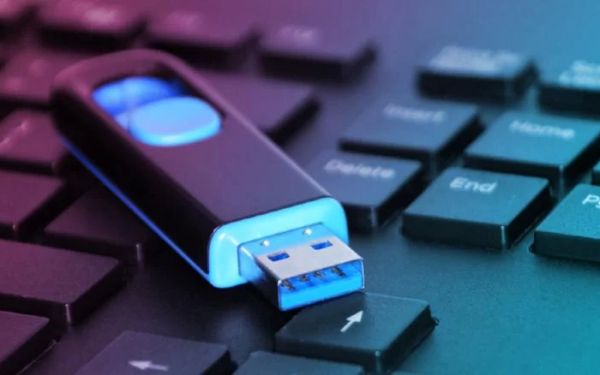
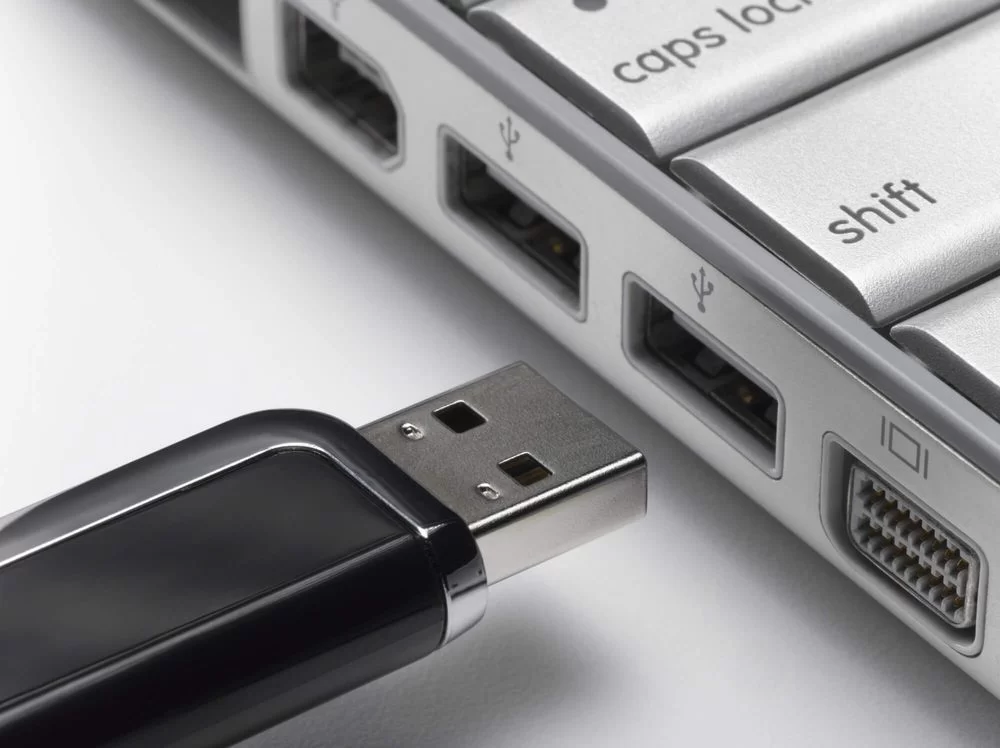
Step 1: Prepare the USB Drive
First, make sure you have a USB drive with at least 8 GB of storage available. All data on the drive will be erased, so back up anything important before proceeding. Insert the USB drive into your computer.
Step 2: Download the Operating System
Next, you need to download the operating system that you want to install. For example, you can download Windows from the official Microsoft website or a Linux distribution from its respective site.
Step 3: Use a Tool to Create the Bootable USB
For Windows, you can use the Windows Media Creation Tool to create a bootable USB. For Linux, tools like Rufus or UNetbootin are popular options. Once you’ve downloaded and launched the tool, follow the on-screen prompts to create the bootable drive.
3. How to Access the Boot Menu on Dell Laptops
Now that you’ve created a bootable USB, the next step is accessing the boot menu on your Dell laptop. Here's how you can do that:
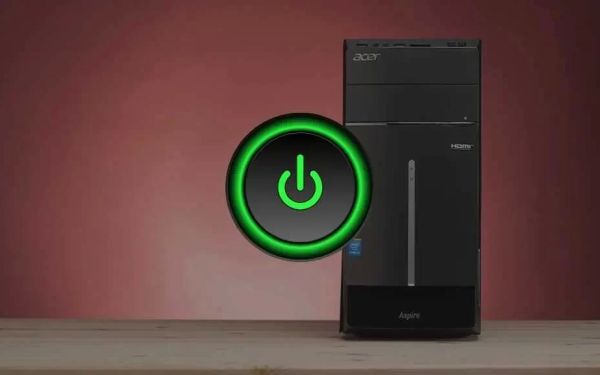
Step 1: Power Off Your Dell Laptop
Ensure that your laptop is completely powered off before proceeding. This will prevent any issues when trying to access the boot menu.
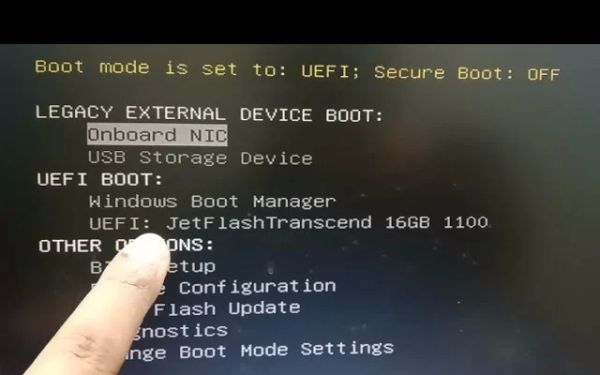
Step 2: Power On and Press the Boot Key
Power on your laptop, and immediately press the F12 key repeatedly until the boot menu appears. This will bring up a list of bootable devices connected to your Dell laptop, including your newly created USB drive.
Step 3: Select the USB Drive
From the boot menu, use the arrow keys to select your USB drive. Press Enter to boot from the USB. If your USB drive doesn’t appear, make sure it is properly inserted and recognized by the system.
4. Troubleshooting USB Boot Issues on Dell Devices
If your Dell laptop isn't booting from the USB drive, there are a few common issues you might encounter. Here are some troubleshooting tips to help resolve these problems:
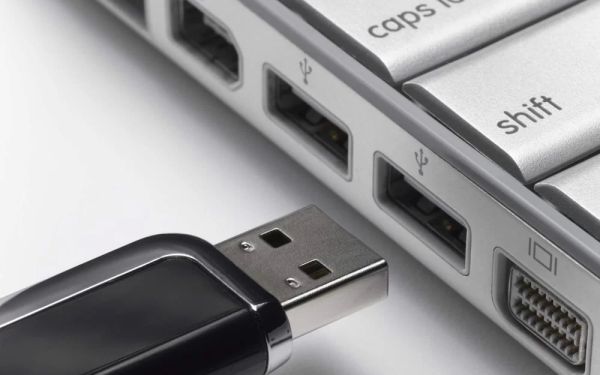
Check USB Port and Drive Compatibility
Sometimes, the USB port itself may be faulty. Try using a different USB port on your laptop. Additionally, ensure that your USB drive is properly formatted and that the bootable OS was created correctly. If the USB drive is formatted incorrectly, it may not appear in the boot menu.
Change Boot Sequence in BIOS
If your USB drive still isn't showing up, you may need to adjust the boot sequence in the BIOS settings. To do this, restart your laptop and press F2 to enter the BIOS. Navigate to the "Boot" tab and make sure that the USB drive is set as the primary boot device. Save the changes and exit the BIOS.
Update BIOS
In some cases, an outdated BIOS can prevent a laptop from booting from USB. You can download the latest BIOS update from the Dell website and install it to ensure your laptop has the most recent firmware. This may help resolve any compatibility issues with bootable USB drives.
5. Alternative Boot Methods for Dell Laptops
If for any reason you are unable to boot from USB on your Dell laptop, there are alternative boot methods you can try:
Network Boot (PXE Boot)
Another option is to boot your Dell laptop via the network using PXE (Preboot Execution Environment). This is a good solution for IT administrators who need to deploy systems over a network. You’ll need to set up a network boot server and configure the BIOS settings to enable PXE booting.
Boot from External CD/DVD
If your laptop has an optical drive, you can also boot from an external CD or DVD by selecting the appropriate option in the boot menu. This is useful if you're installing an operating system or running diagnostics from a physical disc.
Restore to Factory Settings
If all else fails, you can restore your Dell laptop to its factory settings using the built-in recovery partition. This option will reinstall the original operating system and drivers, effectively bringing your laptop back to its default state.
For more detailed instructions or help with creating a bootable USB for your Dell laptop, visit Ninja Stik for expert guidance and products that can make your booting process easier.