How to Boot from USB on a Surface Pro – Step-by-Step Guide for USB Booting
- Why Booting from USB is Useful on Surface Pro
- Preparing Your Surface Pro for USB Boot
- Step-by-Step Guide to Boot from USB on Surface Pro
- Common Issues and Troubleshooting
- Alternative USB Boot Methods for Surface Pro
1. Why Booting from USB is Useful on Surface Pro
Booting from a USB on your Surface Pro can be extremely useful in several situations. Whether you need to run a system repair tool, reinstall Windows, or try a different operating system, using a USB drive to boot is a flexible option that can help you troubleshoot or set up your device in a way that’s more convenient than using the internal storage.
This method is especially beneficial if your Surface Pro is experiencing software issues, such as corruption or the inability to boot normally. By booting from USB, you can access recovery tools and reinstall Windows, all without affecting the data on your device.
2. Preparing Your Surface Pro for USB Boot
Before you can boot from USB on your Surface Pro, you need to ensure that your device is properly configured. Follow these steps to prepare your Surface Pro:
- Create a Bootable USB Drive: You'll need a USB drive that’s at least 8GB in size. Download the Windows installation tool or a recovery image and use it to create a bootable USB drive.
- Enter the UEFI Firmware Settings: To change your boot settings, you'll need to enter the UEFI (Unified Extensible Firmware Interface) settings. Turn off your Surface Pro, then press and hold the volume-up button while pressing the power button. Hold both buttons until the Surface logo appears, and you should enter the UEFI settings.
- Change Boot Order: Inside the UEFI settings, navigate to the "Boot Configuration" or similar section. Set your USB drive as the first boot device, ensuring the Surface Pro will attempt to boot from the USB before trying other devices.
3. Step-by-Step Guide to Boot from USB on Surface Pro
Now that your Surface Pro is ready, here’s a detailed step-by-step guide to boot from USB:
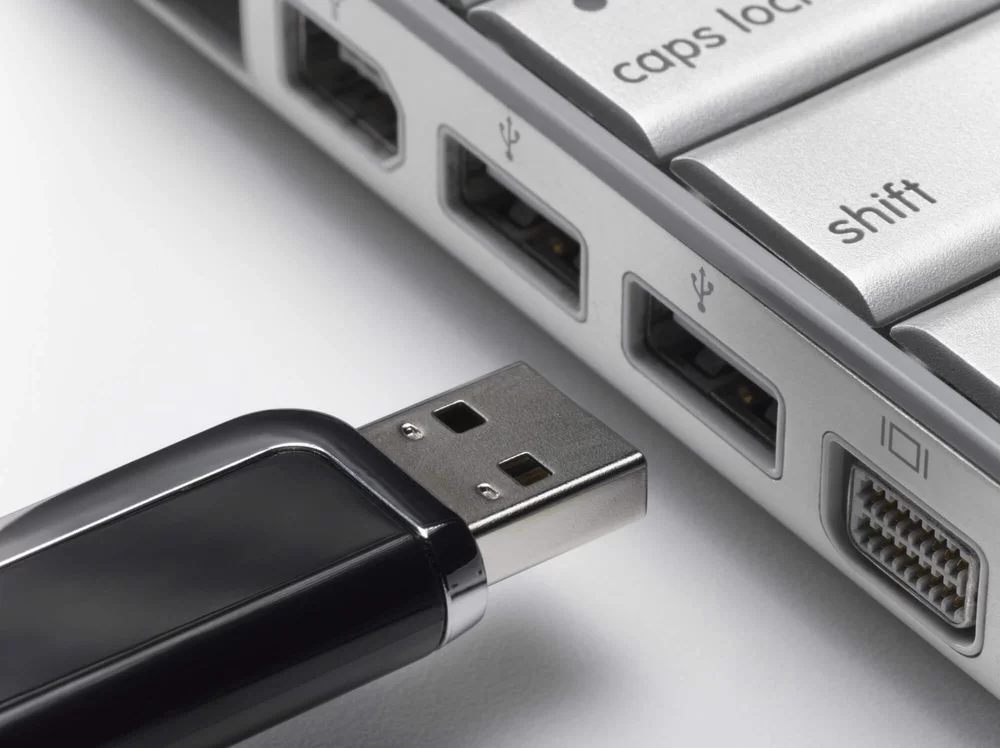
- Insert the USB Drive: Plug the bootable USB drive into the USB port on your Surface Pro.
- Power On the Device: Turn on your Surface Pro while holding the volume-up button, which will direct the device to enter the UEFI settings.
- Access Boot Options: Once inside the UEFI settings, navigate to the Boot Options menu. Select your USB drive from the list of bootable devices.
- Save and Exit: Save the changes to the boot order and exit the UEFI settings. Your Surface Pro should now boot from the USB drive.
- Follow On-Screen Instructions: Depending on the purpose of the bootable USB (such as Windows installation or recovery), follow the on-screen instructions to complete the process.
4. Common Issues and Troubleshooting
If your Surface Pro isn’t booting from USB, there may be a few common issues to address:
- USB Drive Not Recognized: Ensure the USB drive is correctly formatted as bootable and contains the proper installation or recovery files. Try using a different USB port or another USB drive if necessary.
- UEFI Settings Not Saving: If your settings aren’t being saved, it could be due to a firmware issue. Try resetting your UEFI settings to default and then configuring the boot order again.
- USB Drive Boot Order Not Set Properly: Double-check that your USB drive is set as the first boot device in the UEFI settings. If your Surface Pro tries to boot from another device first, it won’t recognize the USB drive.
If these steps don’t resolve the issue, visiting the official Surface support page or contacting customer service may help you troubleshoot further.
5. Alternative USB Boot Methods for Surface Pro
While booting from USB is straightforward, there are a few alternative methods to consider if you're still having trouble:
- Use Windows Recovery Environment: If you’re unable to boot from a USB drive, you can use the built-in Windows Recovery Environment (WinRE) to troubleshoot and repair your system. WinRE provides options like system restore, startup repair, and command prompt.
- Create a Bootable DVD: If your Surface Pro doesn’t recognize a USB drive, you can create a bootable DVD with the same installation or recovery files. This method can be used for devices with external DVD drives.
- Try a Different USB Port: Sometimes, a particular USB port may not function properly. If you’re using a Surface Pro with multiple USB ports (like the Surface Pro 7), try plugging the USB drive into a different port.
By using these alternative methods, you can still access the tools needed to repair or reinstall Windows on your Surface Pro if booting from USB proves difficult.
For more guidance on troubleshooting and making the most of your Surface Pro, visit Ninja Stik for helpful tips and resources.