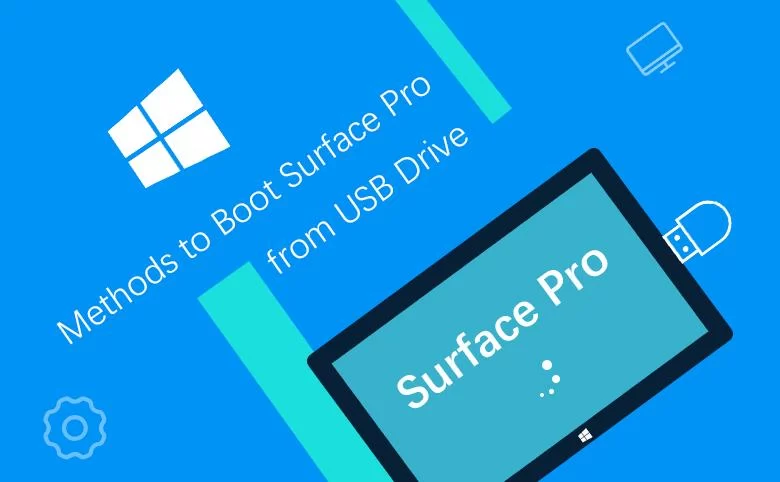
How to Boot from USB on a Surface Pro: Step-by-Step Guide for Beginners
- What is USB Booting on a Surface Pro?
- Why Would You Need to Boot from USB?
- Steps to Boot from USB on a Surface Pro
- Troubleshooting USB Boot on Surface Pro
What is USB Booting on a Surface Pro?
USB booting refers to the process of starting up a computer directly from a USB device, such as a USB drive or external hard drive, instead of booting from the computer's internal storage. When you boot from USB on a Surface Pro, you can run diagnostic tools, install a new operating system, or recover data from your device. This method is particularly useful when the internal system is not functioning properly or if you need to reinstall Windows or another OS on your Surface Pro device.
Why Would You Need to Boot from USB?
There are several reasons you might need to boot from a USB on your Surface Pro:
- Operating System Installation - If your Surface Pro's internal drive is damaged or you need to reinstall Windows, booting from a USB allows you to install an OS without needing a working system.
- System Recovery - If your Surface Pro is not starting properly, you can use a bootable USB drive to recover the system or repair the OS.
- Data Recovery - Booting from a USB can help you retrieve data from your Surface Pro in case of system failure.
- Testing and Troubleshooting - You can run diagnostic software from a USB drive to check for hardware or software issues on your Surface Pro.
Knowing how to boot from USB on a Surface Pro can save you time and effort in many technical situations.
Steps to Boot from USB on a Surface Pro
Follow these simple steps to boot your Surface Pro from a USB device:
- Prepare your USB Drive - Ensure that the USB drive is properly formatted and contains the necessary boot files. You can create a bootable USB drive using tools like the Windows Media Creation Tool.
- Shut Down Your Surface Pro - Power off your Surface Pro completely by holding the power button until the screen turns off.
- Enter the UEFI Firmware Settings - Press and hold the Volume Up button on the side of your Surface Pro, then press and release the Power button. Continue holding the Volume Up button until the Surface logo appears and the UEFI settings menu opens.
- Adjust Boot Order - In the UEFI settings, navigate to the "Boot Configuration" tab and make sure your USB device is listed as the first boot option. If it's not, move it to the top of the boot order.
- Save and Exit - After adjusting the boot order, save your settings and exit the UEFI menu.
- Boot from USB - Your Surface Pro should now boot from the USB device. Follow any on-screen instructions to install an OS, run diagnostic tools, or recover data.
Once these steps are completed, your Surface Pro will boot from the USB drive and you can perform any necessary tasks. It's a simple yet effective solution for many issues.
Troubleshooting USB Boot on Surface Pro
If you're having trouble booting from USB on your Surface Pro, here are some troubleshooting tips:
- Check USB Compatibility - Make sure the USB drive is formatted correctly and contains a bootable image. If you're unsure, try using a different USB drive or reformat the current one.
- Update UEFI Firmware - Ensure your Surface Pro’s UEFI firmware is up-to-date. Visit the official Microsoft website to check for any available updates for your device.
- Verify Boot Order - Double-check the boot order in the UEFI settings to ensure that the USB device is set as the primary boot option.
- Recreate the Bootable USB - If your Surface Pro isn't recognizing the USB device, recreate the bootable drive using a reliable tool such as the Windows Media Creation Tool or Rufus.
If these steps don't resolve the issue, it may be helpful to contact Microsoft support or visit a certified technician for further assistance.
If you're interested in learning more about booting from USB on a Surface Pro or need assistance with creating a bootable USB drive, check out the expert resources at Ninja Stik for helpful guides and support. Whether you're looking for tools or advice, we're here to help!