How to Boot from USB on a Dell Laptop: Step-by-Step Guide
- What is Booting from USB?
- Why Use a USB Drive to Boot Your Dell Laptop?
- Accessing the Dell Boot Menu
- Step-by-Step Guide to Booting from USB on a Dell Laptop
- Troubleshooting Dell USB Boot Issues
1. What is Booting from USB?
Booting from a USB drive is the process of starting your computer directly from an external USB device, such as a flash drive or portable hard drive, instead of the laptop's internal hard drive. This is useful for tasks such as reinstalling your operating system, running diagnostic tools, or accessing backup files when your system won't boot normally.
2. Why Use a USB Drive to Boot Your Dell Laptop?
Using a USB drive to boot your Dell laptop is particularly helpful in several situations. For example, if you need to reinstall Windows or troubleshoot your computer, having a bootable USB with the necessary files or tools can help. This method is especially valuable if your system has become unstable or corrupted, as it allows you to perform repairs or install a fresh version of the operating system.
Additionally, booting from USB on a Dell laptop can provide a faster, more portable solution than relying on CD/DVD drives, especially since many modern laptops no longer include optical drives.
4. Step-by-Step Guide to Booting from USB on a Dell Laptop
Follow these simple steps to boot your Dell laptop from a USB drive:
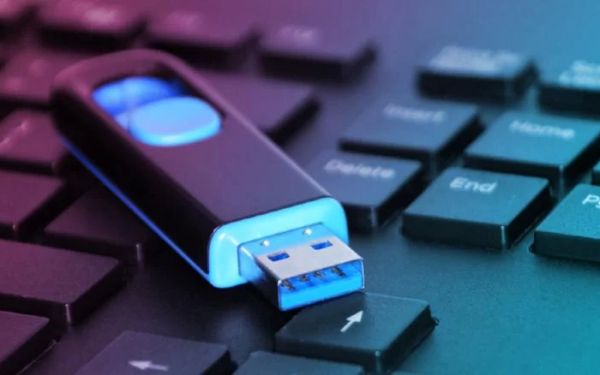
- Create a Bootable USB Drive: You can create a bootable USB by using tools like Ninja Stik, or third-party programs such as Rufus or the Windows Media Creation Tool. Ensure your USB drive has the necessary installation files or diagnostic software for your purpose.
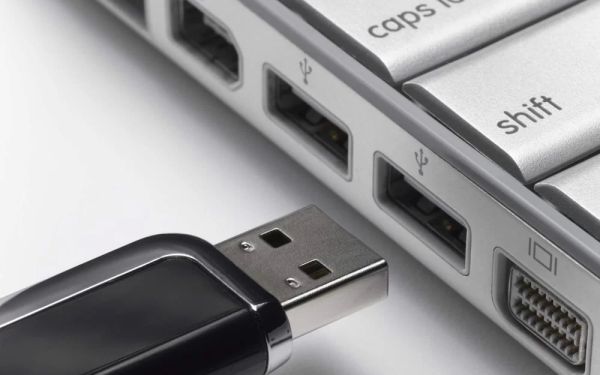
- Insert the USB into Your Dell Laptop: Plug the bootable USB drive into an available USB port on your laptop.
- Enter the Dell Boot Menu: Turn on your laptop and immediately press F12 repeatedly to access the Boot Menu.
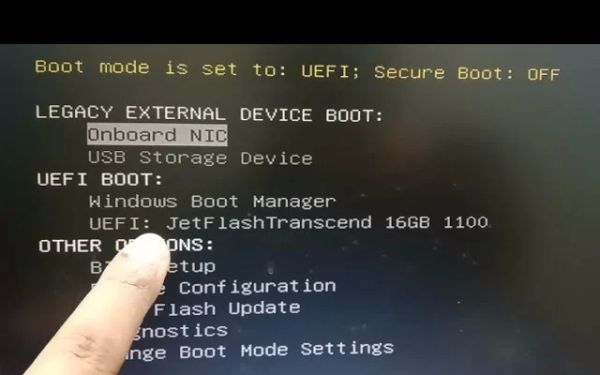
- Select the USB Drive: From the Boot Menu, choose your USB drive using the arrow keys and press Enter to boot from it.
- Proceed with Your Task: Once the laptop boots from the USB, you can follow the on-screen prompts to reinstall your operating system, run diagnostics, or perform other tasks.
5. Troubleshooting Dell USB Boot Issues
If your Dell laptop fails to boot from the USB drive, there are a few things you can check:
- Check the USB Drive: Ensure that the USB drive is correctly formatted and contains the necessary boot files. If you're unsure, try reformatting and recreating the bootable USB.
- Enable USB Boot in BIOS: Some Dell laptops require you to enable booting from USB in the BIOS. To do this, restart your laptop, press F2 to enter the BIOS, and navigate to the "Boot" tab. Make sure that "USB Boot" is enabled.
- Try a Different USB Port: Occasionally, the issue could be a faulty USB port. Try using a different port, preferably a USB 2.0 port if available.
- Check for Secure Boot Settings: If Secure Boot is enabled in the BIOS, it might prevent booting from unverified external devices. Disable Secure Boot in the BIOS under the "Boot" or "Security" tab.
If you continue to experience issues, you might want to try using another USB drive or consult Dell's official support for further assistance.