How to Boot Dell XPS from USB: Step-by-Step Instructions for a Smooth Experience
- Why You Might Need to Boot Dell XPS from USB
- Preparing Your USB Drive for Booting on Dell XPS
- Step-by-Step Guide: Booting Dell XPS from USB
- Troubleshooting Common Issues When Booting Dell XPS from USB
- Alternative Methods: Other Ways to Boot Your Dell XPS
Why You Might Need to Boot Dell XPS from USB
Booting from a USB drive can be a useful tool when you need to install a new operating system, run diagnostics, or recover data from a previous installation. For Dell XPS users, having the ability to boot from USB opens up several useful possibilities, from reinstalling Windows to booting into a Linux environment. Understanding how to boot Dell XPS from USB is an essential skill, especially when dealing with troubleshooting or performing a system restore.
Preparing Your USB Drive for Booting on Dell XPS
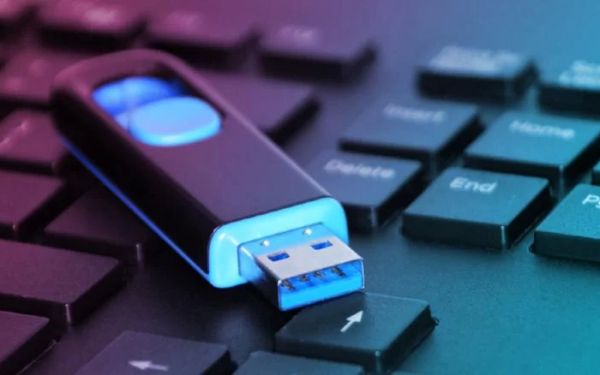
Before you can boot from a USB drive on your Dell XPS, you’ll need to ensure the drive is prepared correctly. This typically involves creating a bootable USB drive that contains the OS or tool you intend to use. Here’s how to prepare your USB drive:
- Download the necessary ISO file: For Windows, go to the official Microsoft website and download the Windows installation ISO. For Linux, download the specific distribution’s ISO file.
- Create a bootable USB: Use tools like Rufus (for Windows) or UNetbootin (for Linux) to create a bootable USB drive. Select the ISO file and ensure that the USB drive is formatted correctly for booting.
- Check the USB drive: Once created, verify that the USB drive is bootable by testing it on another machine or using your Dell XPS in BIOS mode (as explained below).
Having a correctly prepared USB drive ensures that the boot process will run smoothly once you start up your Dell XPS.
Step-by-Step Guide: Booting Dell XPS from USB
Now that your USB drive is ready, you can begin the process of booting from it. Here’s a step-by-step guide for how to boot your Dell XPS from USB:
- Power off your Dell XPS: Ensure your laptop is completely powered off before proceeding.
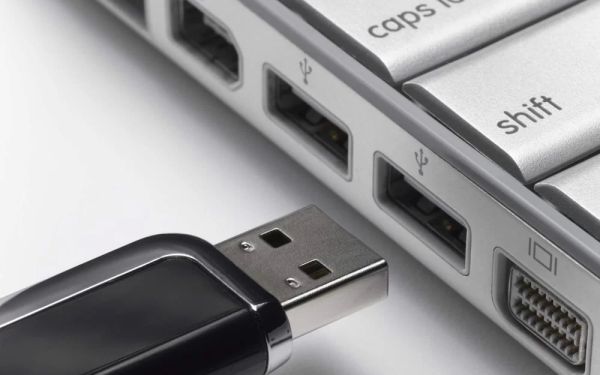
- Insert the bootable USB drive: Plug the bootable USB drive into an available USB port on your Dell XPS.
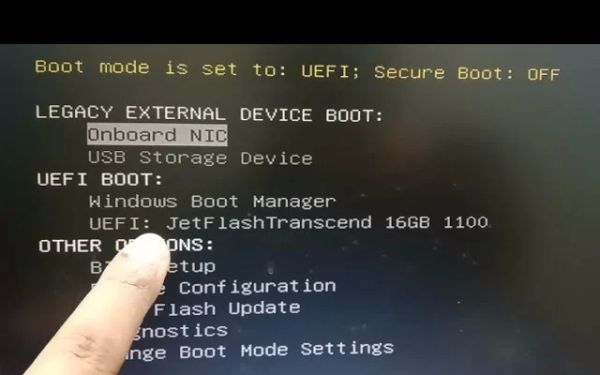
- Power on and access the BIOS/UEFI: Turn on your laptop, and immediately press the F12 key repeatedly until the boot menu appears.
- Select the USB drive: From the boot menu, use the arrow keys to select your USB drive as the boot device and press Enter.
- Follow the on-screen instructions: Once the system boots from the USB, follow the on-screen prompts to proceed with installing an OS or running your diagnostics or recovery tool.
This process should allow you to successfully boot your Dell XPS from a USB drive, enabling you to install an OS, repair your system, or access other tools.
Troubleshooting Common Issues When Booting Dell XPS from USB
Sometimes, issues may arise when attempting to boot from a USB on your Dell XPS. Here are some common problems and how to resolve them:
- USB not detected: Make sure the USB is inserted correctly and is recognized by the system. Try using a different USB port if needed.
- Boot order issue: If the USB drive isn’t showing up in the boot menu, check the boot order in the BIOS settings. Ensure that the USB drive is set as the primary boot device.
- Bootable USB creation issues: If the system fails to boot from the USB, ensure the USB is properly formatted and contains the correct bootable data.
By following these troubleshooting steps, you can resolve most boot-related issues and get your Dell XPS up and running from a USB.
Alternative Methods: Other Ways to Boot Your Dell XPS
While booting from a USB drive is a popular and effective option, there are other methods you can explore for booting your Dell XPS:
- Boot from external DVD drive: If you have an external optical drive, you can boot from a DVD instead of a USB by selecting the external DVD drive in the BIOS/boot menu.
- Boot from network (PXE boot): In some cases, you may want to boot your Dell XPS from a network server. This option requires a network boot setup and can be useful for IT professionals.
- Boot into Safe Mode: If you’re troubleshooting an issue, booting into Safe Mode via the F8 key during startup can help resolve software problems.
These alternative methods give you additional flexibility when dealing with system recovery, installations, or repairs on your Dell XPS.
Ready to get started with booting your Dell XPS from USB? Whether you’re reinstalling an OS or troubleshooting, having the right tools and knowledge is essential. For more helpful tips and guides, check out Ninja Stik for expert advice and solutions.