How to Boot Dell XPS from USB: A Step-by-Step Guide
- Why Boot from USB on Your Dell XPS
- Requirements for Booting from USB
- Step-by-Step Guide to Boot Dell XPS from USB
- Common Issues When Booting from USB
- Real-World Case: Booting from USB for a Fresh Install
- Recommended Tools and Products for Dell XPS
1. Why Boot from USB on Your Dell XPS?
Booting from USB on a Dell XPS offers several benefits, especially for troubleshooting, system recovery, or installing a fresh OS. Many users prefer this method to perform tasks like reinstalling Windows, accessing recovery tools, or installing a Linux distribution. The process allows you to bypass the internal hard drive and directly access the operating system or utilities from the USB device, providing a fresh environment without affecting the existing OS on your Dell XPS.
2. Requirements for Booting from USB
Before booting your Dell XPS from a USB drive, make sure you have the following:
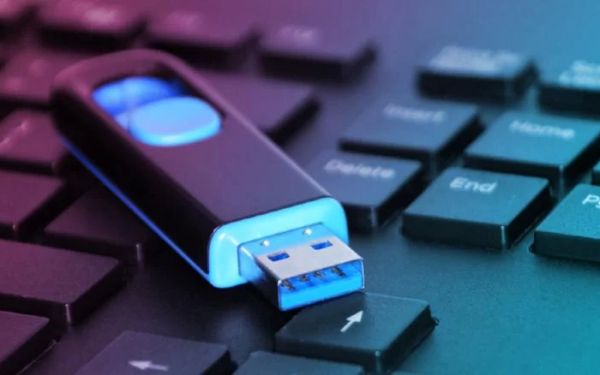
- USB Drive: A bootable USB drive with a valid OS or recovery tool installed. You can use tools like the Windows Media Creation Tool or Rufus for creating bootable drives.
- USB Port: Ensure that your Dell XPS has an available USB port, preferably USB 3.0 for faster data transfer.
- BIOS/UEFI Access: You will need to access the BIOS or UEFI settings of your Dell XPS to change the boot order.
With these essentials ready, you can proceed to boot your Dell XPS from USB easily.
3. Step-by-Step Guide to Boot Dell XPS from USB
Follow these steps to successfully boot your Dell XPS from a USB drive:
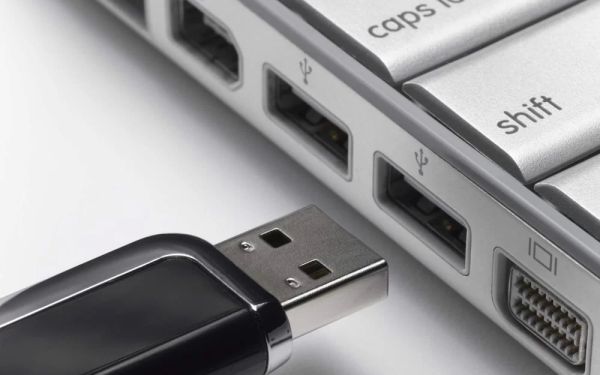
- Insert the Bootable USB Drive: Plug the USB drive into a USB port on your Dell XPS.
- Restart Your Laptop: Turn off your laptop and then power it back on.
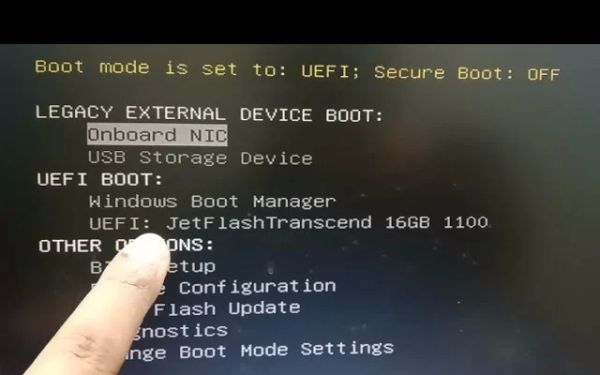
- Access BIOS/UEFI: As the Dell logo appears, press the F2 key to enter the BIOS setup. (This may vary by model, and for some, the F12 key is used for boot options.)
- Modify Boot Order: Navigate to the Boot Sequence section within the BIOS settings. Change the boot order so that your USB device is prioritized over the internal hard drive.
- Save and Exit: After making the necessary changes, save and exit the BIOS by pressing F10. Your laptop will now boot from the USB device.
- Follow On-Screen Instructions: Once the system boots from the USB drive, follow the instructions to either install the operating system or use recovery tools.
This process should allow you to boot your Dell XPS from a USB drive and begin troubleshooting or installing a new OS without issues.
4. Common Issues When Booting from USB
Sometimes, users face challenges when trying to boot from a USB on their Dell XPS. Here are some common issues and their solutions:
- USB Not Detected: Ensure that your USB drive is properly formatted and contains a bootable OS. Try using a different USB port, preferably a USB 3.0 port for faster access.
- Wrong Boot Order: Double-check your BIOS settings to confirm that the USB device is listed first in the boot sequence.
- Secure Boot Issue: If your Dell XPS uses UEFI with Secure Boot enabled, it may prevent booting from an unsigned USB device. Disable Secure Boot in the BIOS settings and try again.
- Corrupted Bootable USB: If the USB drive is corrupt or the operating system files are missing, recreate the bootable USB using a tool like Rufus or the Windows Media Creation Tool.
Addressing these issues should ensure that your Dell XPS boots from USB without any problems.
5. Real-World Case: Booting from USB for a Fresh Install
A real-world case: John, a Dell XPS user, had been experiencing performance issues due to outdated system files. After trying various troubleshooting methods without success, he decided to boot from a USB and reinstall Windows. By following the steps outlined above, he successfully formatted his system and installed a fresh copy of Windows 10, improving his laptop’s performance significantly.
This example illustrates how booting from a USB can be a useful tool for users looking to start fresh with their operating system, especially when their laptop is running slowly or experiencing errors.
6. Recommended Tools and Products for Dell XPS
If you're looking to create a bootable USB for your Dell XPS, here are some recommended tools:
- Rufus: A free tool to create bootable USB drives with various OSes, including Windows and Linux.
- Windows Media Creation Tool: The official Microsoft tool for downloading and creating a bootable Windows USB installation drive.
- USB Flash Drive: Opt for a high-quality USB 3.0 flash drive with at least 8GB of storage for a smooth booting experience.
These tools and products will help you create a reliable bootable USB drive for your Dell XPS, ensuring that your system runs smoothly and efficiently.
For further assistance with creating bootable USBs and troubleshooting, visit Ninja Stik.