How to Boot Dell Optiplex from USB Drive
- Why Boot from a USB Drive?
- Preparing a Bootable USB Drive
- Accessing BIOS Settings on Dell Optiplex
- Changing the Boot Order
- Booting Dell Optiplex from USB
- Troubleshooting Common Issues
- Using Ninja Stik for Secure Booting
1. Why Boot from a USB Drive?
Booting from a USB drive allows users to install new operating systems, run recovery tools, and troubleshoot system issues. It’s an essential method for IT professionals and tech enthusiasts.
2. Preparing a Bootable USB Drive
To create a bootable USB drive, you’ll need a tool like Rufus or BalenaEtcher. Download your desired OS image (ISO file) and use one of these tools to format and write the image onto your USB drive.
3. Accessing BIOS Settings on Dell Optiplex
Restart your Dell Optiplex and press F2 or Delete during startup to enter BIOS settings. If you’re having trouble accessing BIOS, ensure your keyboard is properly connected and try again.
4. Changing the Boot Order
Inside the BIOS menu, navigate to the Boot Sequence or Boot Order settings. Change the priority so that USB devices are the first option before the hard drive.
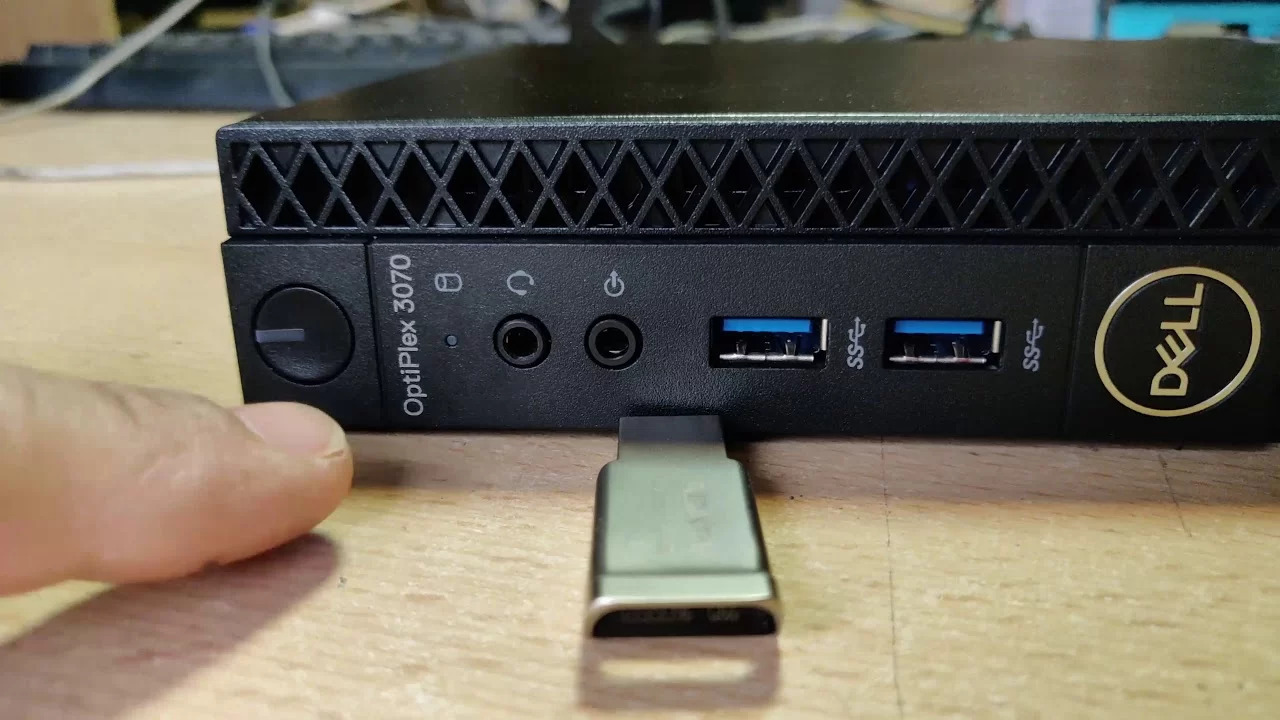
5. Booting Dell Optiplex from USB
Once the boot order is set, save changes and exit BIOS. Insert your bootable USB drive and restart the system. Your Dell Optiplex should now boot from the USB drive, allowing you to install or troubleshoot an OS.
6. Troubleshooting Common Issues
If your system doesn’t boot from USB, ensure Secure Boot is disabled in BIOS. Also, check that your USB drive is properly formatted and contains a valid bootable image.
7. Using Ninja Stik for Secure Booting
For a seamless and secure boot experience, consider using Ninja Stik. This encrypted USB drive offers a portable operating system, ideal for secure browsing and professional IT use.