How to Boot Dell Optiplex from USB Drive: A Complete Guide
- Preparing Your USB Drive for Dell Optiplex
- How to Enter BIOS on Dell Optiplex
- Setting USB as Boot Priority on Dell Optiplex
- Booting from USB on Dell Optiplex
- Troubleshooting Common Boot Issues
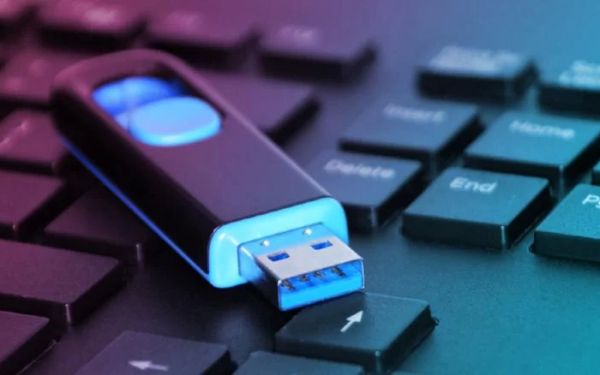
Preparing Your USB Drive for Dell Optiplex
Before booting your Dell Optiplex from a USB drive, ensure your USB drive is properly set up. First, you'll need a bootable USB with the operating system (OS) you want to install or run. Popular tools like Rufus or the Windows Media Creation Tool allow you to make your USB drive bootable. For a successful setup, use a USB drive with at least 8GB of space, and be sure to back up any important data, as the process will erase everything on the drive.
If you're installing an OS like Windows or Linux, download the appropriate ISO file, then use one of the above tools to write the ISO to the USB. After completing this process, your USB will be ready to boot your Dell Optiplex.
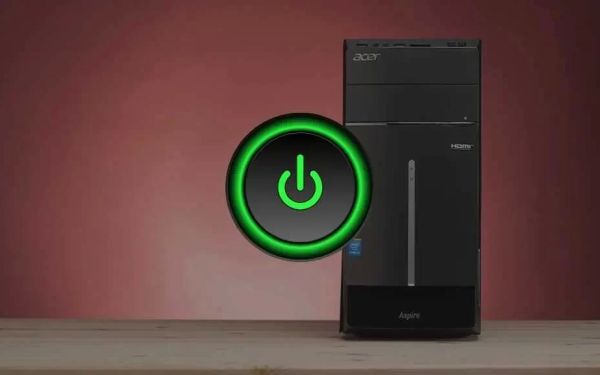
How to Enter BIOS on Dell Optiplex
To boot from a USB drive on your Dell Optiplex, you first need to access the BIOS or UEFI settings. Here’s how:
- Shut down your Dell Optiplex completely.
- Turn the computer back on and immediately press the F12 key repeatedly until the boot menu appears.
- If needed, you can press F2 to enter the full BIOS setup for more advanced options.
- Select the "Boot Menu" option from the screen and proceed to the next step.
Once you're in the boot menu or BIOS, you can configure the boot options to allow USB booting.
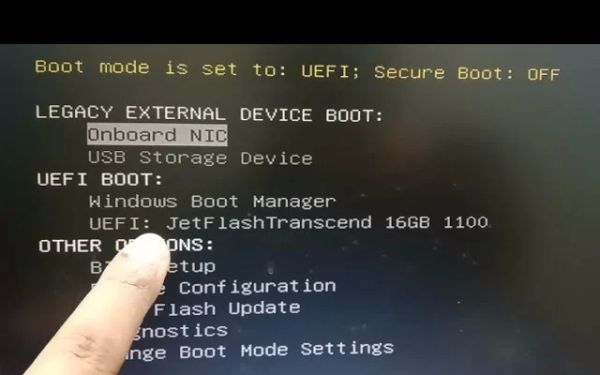
Setting USB as Boot Priority on Dell Optiplex
Once you're in the BIOS or Boot Menu, you’ll need to prioritize the USB drive over the internal hard drive. Here's how to do it:
- Navigate to the Boot tab in the BIOS settings.
- Locate the "Boot Order" or "Boot Priority" section.
- Move your USB drive to the top of the boot list. Use the +/- keys or the F6 key to adjust the order.
- Save the changes by pressing F10 and confirm with "Yes" when prompted.
This will set your Dell Optiplex to boot from the USB first, ensuring that the operating system or recovery tools on the USB drive are used when the system starts up.
Booting from USB on Dell Optiplex
Now that your USB is set as the boot priority, it’s time to boot from the USB drive. Follow these simple steps:
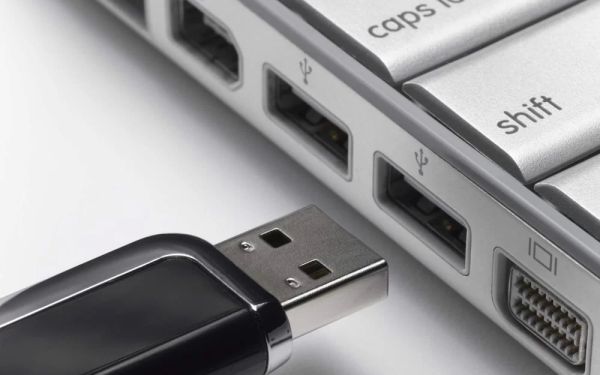
- With the USB drive plugged in, restart your Dell Optiplex.
- During the startup process, press F12 again to access the Boot Menu.
- Select your USB drive from the list of bootable devices and press Enter.
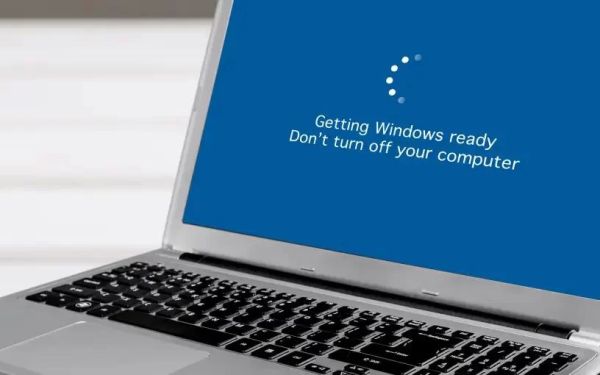
Your Dell Optiplex should now boot from the USB drive. If you're installing an OS, the installation process will begin, and you can follow the on-screen instructions to complete the setup.
Troubleshooting Common Boot Issues
While setting up a bootable USB on your Dell Optiplex is usually straightforward, you may encounter some issues. Here are some common problems and solutions:
- USB Not Detected: Double-check that the USB drive is properly connected and that the BIOS recognizes it. If necessary, try a different USB port or a different USB drive.
- Incorrect Boot Order: Ensure that the USB drive is set as the first boot option in the BIOS/Boot Menu. Also, check that no other devices (like hard drives or network adapters) are set to boot before the USB.
- Boot Failure: If the system fails to boot from the USB, verify that the USB drive is properly formatted and that the correct bootable files are installed. You may need to recreate the bootable USB drive using tools like Rufus or the Windows Media Creation Tool.
By following these troubleshooting tips, you can ensure a smooth boot process and quickly resolve any issues that arise during setup.