How to Access and Use the Hewlett Packard Boot Menu: A Complete Guide
- 1. Accessing the Hewlett Packard Boot Menu
- 2. Understanding HP BIOS Boot Options
- 3. Troubleshooting Common Boot Issues on HP Devices
- 4. Advanced Boot Settings for Power Users
- 5. Recommended Products for Enhanced Booting Experience
1. Accessing the Hewlett Packard Boot Menu
If you're looking to modify boot settings or boot from a different device, accessing the Hewlett Packard (HP) boot menu is essential. This menu allows you to select the boot device before your system starts loading, giving you control over how your HP laptop or PC starts up. There are a few different methods depending on the specific HP model, but the most common way is as follows:
1. Power off your HP device completely.
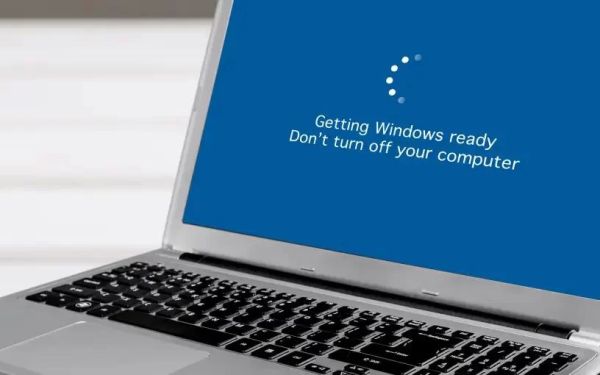
2. Turn it back on, and immediately press the Esc key repeatedly (every second) until the Startup Menu appears.
3. From the Startup Menu, press F9 to open the Boot Device Options menu. This allows you to select the device from which you want to boot—whether it's your hard drive, a USB device, or a network location.
2. Understanding HP BIOS Boot Options
Once you've accessed the HP boot menu, you'll be presented with various boot options. These options include booting from different devices such as the internal hard drive, a USB drive, an optical drive, or even a network drive (PXE boot).
Each option can be essential for specific tasks like installing a new operating system or booting into recovery mode. Here are a few boot options you might encounter in the HP BIOS:
- Hard Drive: Boots the operating system from the device's primary hard drive.
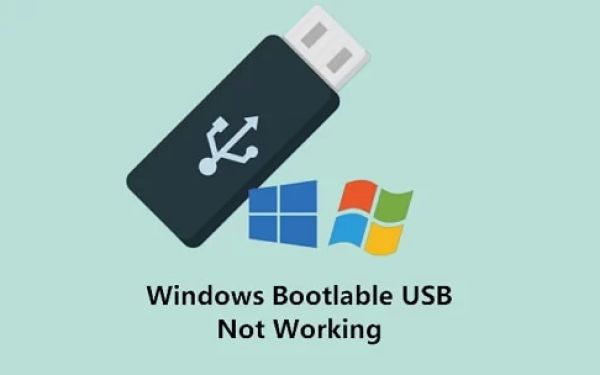
- USB Drive: Allows booting from a USB drive, useful for installing or recovering operating systems.
- Network Boot (PXE): Boots the system over the network, commonly used for enterprise setups.
- CD/DVD Drive: Boots from an optical disc, used for installation or recovery discs.
3. Troubleshooting Common Boot Issues on HP Devices
Sometimes, users face issues where the HP boot menu doesn't function as expected. This could be due to various reasons, such as incorrect boot order or hardware problems. Here are a few troubleshooting tips:
- Ensure Fast Boot is Disabled: If your HP system has Fast Boot enabled, it can prevent you from accessing the boot menu. Disabling it via the BIOS might resolve this issue.
- Check Boot Order: Ensure that your desired boot device (e.g., USB or CD) is at the top of the boot priority list in the BIOS.
- Hardware Check: Sometimes hardware issues can prevent the boot menu from appearing. Ensure all connected peripherals are working properly.
4. Advanced Boot Settings for Power Users
If you're a more advanced user and need more control over booting, you can explore additional settings in the HP BIOS. For instance, setting up boot sequences or customizing boot options can streamline your workflow. To access these options:
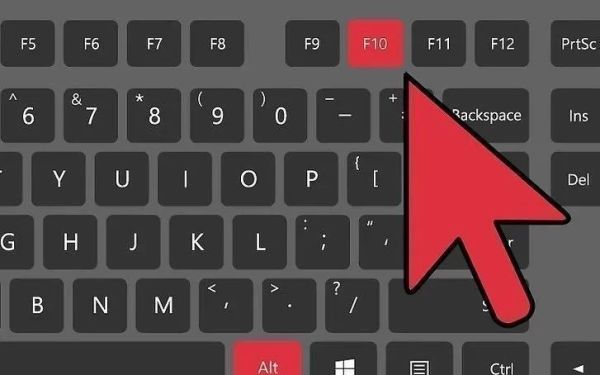
1. Enter BIOS by pressing F10 during startup.
2. Navigate to the "Boot Options" section to manage boot priorities and enable/disable certain devices like network boot or USB boot.
For advanced configurations, some HP systems also support UEFI (Unified Extensible Firmware Interface), allowing users to configure detailed boot options like secure boot, legacy boot, and more.
5. Recommended Products for Enhanced Booting Experience
For a smoother and more efficient booting experience, consider investing in high-quality USB drives and SSDs that offer faster data transfer speeds. A faster USB drive, for example, can significantly reduce boot time when installing or running an operating system.
Check out Ninja Stik for top-tier USB drives and other accessories that can make your booting process faster and more reliable.
By following these steps and tips, you should be able to confidently manage and troubleshoot your HP boot menu. Whether you're looking to install a new operating system, recover from a failure, or simply customize your system settings, understanding the boot menu and BIOS settings is an essential skill for any HP user.