1. Understanding the Process: Why Boot from USB?
Booting a computer from a USB drive is a powerful troubleshooting tool, especially when you need to install or repair the operating system. For Dell laptops running Windows 10, this method is often the easiest way to recover or reinstall your system without accessing the internal hard drive. A bootable USB drive can be used for a variety of reasons, such as fixing system errors, performing system restores, or installing a fresh version of Windows 10.
Using a bootable USB is particularly helpful when your laptop has no operating system or if your current OS is corrupted. It allows you to bypass potential hard drive issues and directly access the system's recovery options.
2. Preparing Your Dell Laptop for USB Boot
Before you can boot your Dell laptop from a USB drive, you must first prepare both the USB and the laptop. Here’s how:
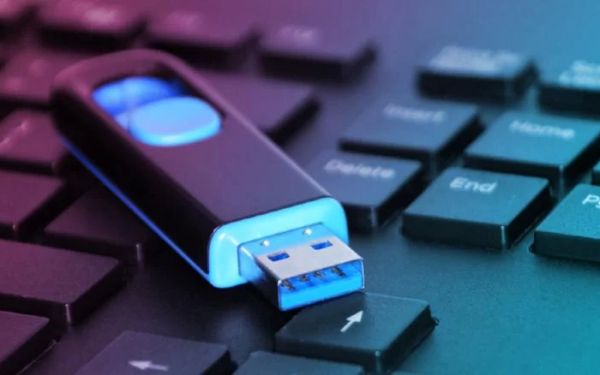
Step 1: Create a Bootable USB Drive
You’ll need a bootable USB drive to begin with. To create one for Windows 10, use tools like the Windows Media Creation Tool or third-party software like Rufus. This tool will allow you to install a fresh version of Windows or access recovery tools that can help fix your laptop’s issues.
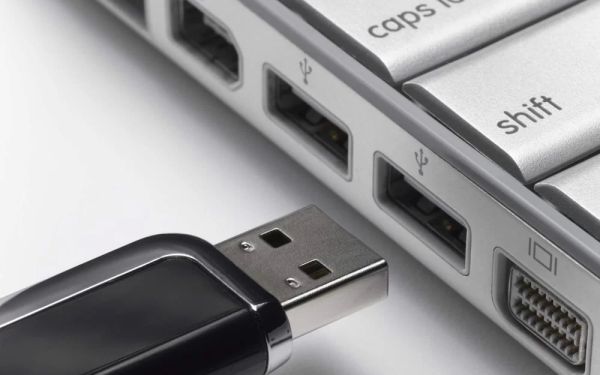
Step 2: Insert the USB Drive into Your Dell Laptop
Once the bootable USB drive is ready, insert it into one of the USB ports on your Dell laptop. Ensure that the USB drive is connected before turning on the laptop.
3. How to Boot Your Dell Laptop from USB Drive
Now that you’ve prepared both your laptop and USB drive, follow these steps to boot from the USB drive:
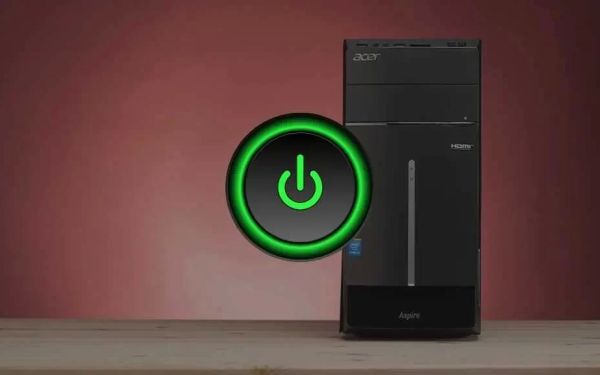
Step 1: Access the Boot Menu
Power on your Dell laptop and immediately press the F12 key repeatedly until the Boot Menu appears on the screen. This menu allows you to choose the device from which your laptop will boot.
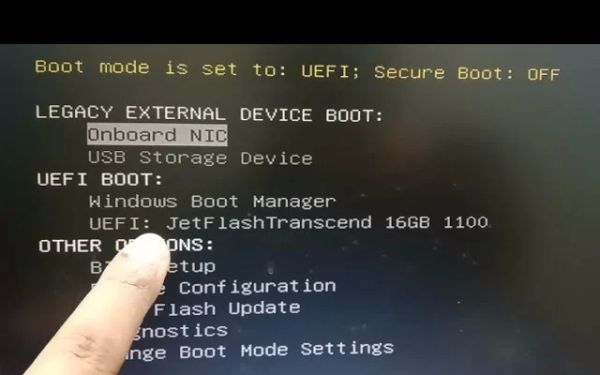
Step 2: Select the USB Drive
Once in the Boot Menu, use the arrow keys to select the USB drive as your boot device. If the USB drive is correctly prepared, it should appear as a boot option. After selecting it, press Enter to boot from the USB drive.
Step 3: Follow the On-Screen Instructions
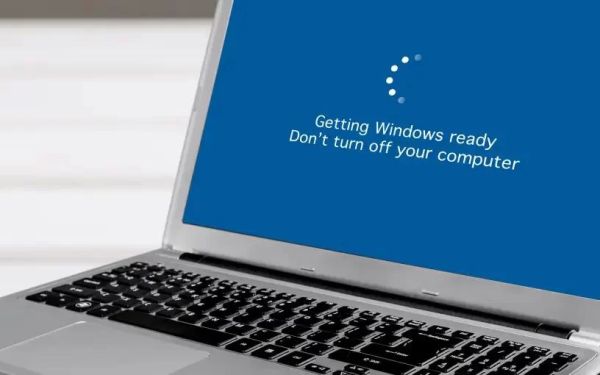
After selecting the USB drive, your Dell laptop will boot into the Windows installation or recovery environment. From here, you can either install Windows 10 or access advanced recovery options to repair your system.
4. Troubleshooting: What to Do if It Doesn't Work?
Sometimes, booting from a USB drive may not work as expected. Here are a few troubleshooting tips to help you out:
1. Check the USB Drive
Ensure the USB drive is properly formatted and contains the correct bootable files. Recreate the bootable USB drive if necessary.
2. Enable Legacy Boot
If your Dell laptop doesn’t recognize the USB drive, you may need to enable "Legacy Boot" in the BIOS settings. To do this, restart your laptop and press F2 to enter the BIOS. Then, navigate to the Boot Sequence section and enable Legacy Boot.
3. Verify USB Port
If the laptop still doesn’t boot from the USB, try using a different USB port or use a USB 2.0 port instead of a USB 3.0 port, as some older systems may not recognize USB 3.0 devices during boot.
5. Real-Life Case Study: Booting Dell Laptop with USB for Windows 10 Installation
Consider the case of Sarah, a Dell laptop user whose system crashed and wouldn’t boot into Windows 10. Unable to access any files or use the laptop, she decided to create a bootable USB drive using the Windows Media Creation Tool. After following the above steps, she successfully booted her laptop from the USB drive, reinstalled Windows 10, and recovered her important files without needing to visit a repair shop.
This scenario highlights the power and convenience of using a bootable USB drive for system repairs and installations. It saved Sarah both time and money while ensuring her laptop was restored to full functionality.
6. How to Purchase the Right USB Drive for Booting
If you prefer not to create a bootable USB drive yourself, or if you need one quickly, you can purchase a pre-made USB drive. One option is Ninja Stik, which offers high-quality bootable USB drives preloaded with Windows 10 or recovery tools. These drives are ready to use immediately, making them an ideal solution for those who want a hassle-free booting experience.
To get started with your own pre-configured USB drive, visit Ninja Stik and explore their product offerings to enhance your Dell laptop repair process today.