What Are the Best Practices for Creating a Bootable USB Drive?
- Why Create a Bootable USB Drive?
- Essential Tools and Software for Creating a Bootable USB Drive
- Step-by-Step Guide for Creating a Bootable USB Drive
- Troubleshooting Tips for Bootable USB Drives
Why Create a Bootable USB Drive?
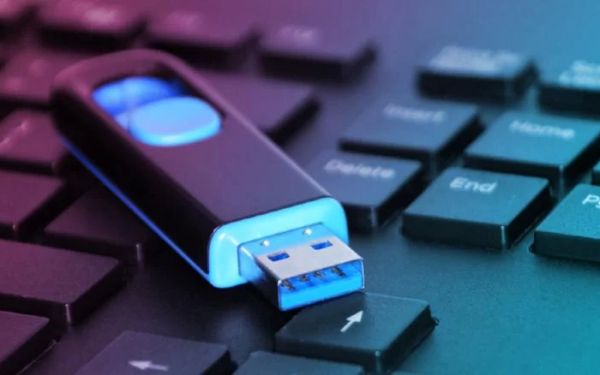
A bootable USB drive is an essential tool for anyone looking to install or repair an operating system. Whether you're upgrading to a new version of Windows, reinstalling your system, or recovering data from a crashed computer, a bootable USB drive allows you to boot a computer directly from the USB rather than relying on the internal hard drive. It's also incredibly useful for performing system diagnostics, accessing recovery tools, and installing various operating systems, making it an indispensable part of a tech-savvy individual's toolkit.
Essential Tools and Software for Creating a Bootable USB Drive
To create a bootable USB drive, you'll need a few essential tools and software. Here’s a list of the most commonly used tools for this purpose:
- Rufus: A free and popular software tool that helps you create bootable USB drives from ISO files. It’s fast, reliable, and supports a variety of file systems.
- Windows Media Creation Tool: If you’re looking to install a fresh copy of Windows, this official tool from Microsoft allows you to create a bootable USB drive easily.
- UNetbootin: Ideal for creating bootable USB drives for Linux distributions, UNetbootin makes it easy to install Ubuntu and other Linux-based systems.
- Diskpart (Windows built-in tool): For those familiar with command-line interfaces, Diskpart offers a more advanced method for creating a bootable USB drive.
Step-by-Step Guide for Creating a Bootable USB Drive
Creating a bootable USB drive might seem like a daunting task, but with the right tools, it’s relatively simple. Follow these steps for a successful bootable USB creation:
- Step 1: Insert your USB drive into the computer and ensure that it has no important data, as the process will erase everything on it.
- Step 2: Download and install a tool like Rufus or the Windows Media Creation Tool.
- Step 3: Launch the tool and select your USB drive under the "Device" section.
- Step 4: Choose the appropriate ISO file for the operating system or software you want to install.
- Step 5: Select the file system (FAT32 is recommended) and make sure the partition scheme matches your computer's architecture (MBR for BIOS or UEFI for modern systems).
- Step 6: Click on "Start" to begin the process. The tool will format the USB drive and copy the necessary files to make it bootable.
Once complete, your bootable USB drive will be ready to use. Simply plug it into the target computer, restart, and boot from USB to start installing or troubleshooting your system.
Troubleshooting Tips for Bootable USB Drives
Sometimes, even after following the correct steps, a bootable USB drive may not work as expected. Here are some troubleshooting tips to help resolve common issues:
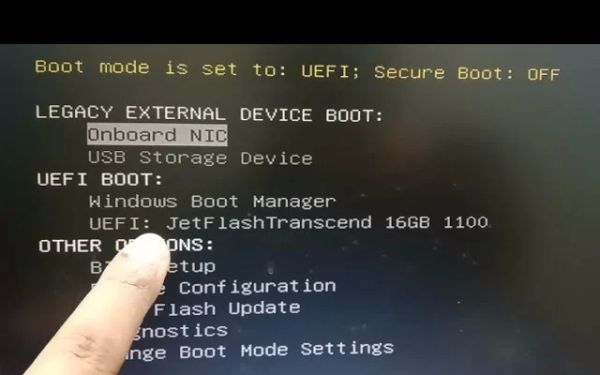
- Ensure USB Drive is Bootable: If your computer doesn’t recognize the USB, check the BIOS settings to ensure the USB is set as the first boot device.
- Check the File System: If you're facing issues during installation, the file system on the USB drive may be incompatible. Use FAT32 or NTFS depending on the system you're installing.
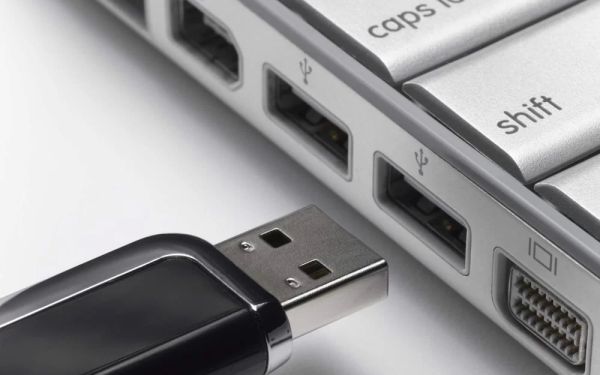
- Test with Another USB Port: Some older systems might not support USB 3.0. If you're having trouble, try using a USB 2.0 port.
- Use a Different Tool: If Rufus or UNetbootin isn’t working, try an alternative tool like the Windows Media Creation Tool or Diskpart.
If you're interested in learning more about creating bootable USB drives or need assistance with advanced methods, visit Ninja Stik for more tips and tools!