Acer Boot From USB Guide: Step-by-Step Instructions for Easy Setup
- Why Booting from USB on Acer is Important
- Preparing Your USB for Booting on Acer
- How to Set Up BIOS for USB Boot on Acer
- Troubleshooting Common Boot Issues
- Buy Ninja Stik for Seamless USB Booting
Why Booting from USB on Acer is Important
Booting your Acer device from a USB drive is a useful tool for a variety of reasons. Whether you're looking to install a new operating system, run diagnostic tools, or perform a system recovery, booting from USB provides flexibility and can save time. Many users prefer this method because it’s faster and more portable than using traditional DVD or hard disk boot options.
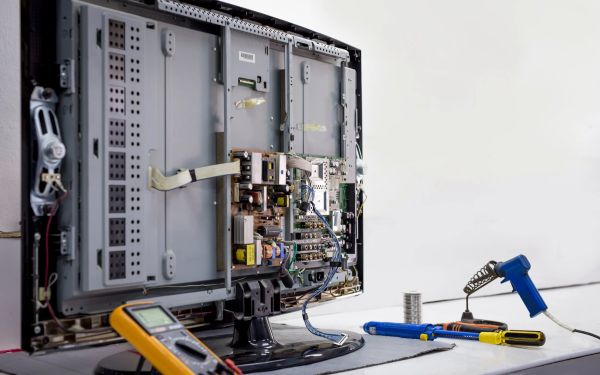
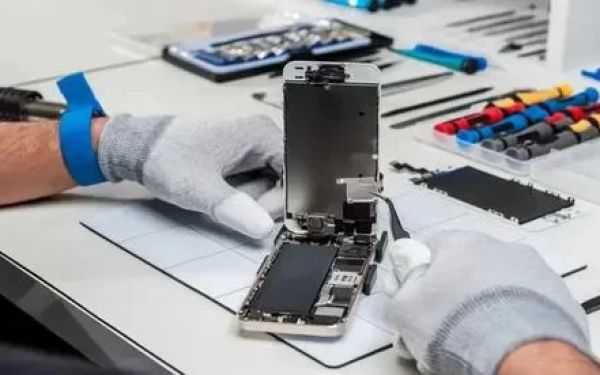
In recent years, USB booting has become a critical feature for those involved in tech repairs or system installations. The process is relatively simple, but you need to make sure your Acer laptop or desktop is configured properly to support it.
Preparing Your USB for Booting on Acer
Before you can boot from USB, you need to ensure that the USB drive is set up correctly. This means creating a bootable USB drive with the necessary files for installation or recovery.
Step 1: Download the Operating System
Start by downloading the operating system or recovery tool you want to use. For example, you might download Windows 10 or a Linux distribution. Ensure that the downloaded file is the ISO image file, as it will be required to create a bootable USB drive.
Step 2: Use a Tool to Create Bootable USB
Next, use a tool like Rufus or the Windows Media Creation Tool to make your USB drive bootable. This process will erase any data currently on the USB, so make sure to back up important files first.
How to Set Up BIOS for USB Boot on Acer
Once your USB drive is ready, it's time to adjust your Acer’s BIOS settings to allow booting from the USB drive. Follow these simple steps:
Step 1: Access the BIOS Setup
Restart your Acer computer and press the F2 key repeatedly as soon as the Acer logo appears. This will take you into the BIOS settings.
Step 2: Change Boot Order
In the BIOS menu, navigate to the Boot menu. Here, you'll see a list of devices that your computer can boot from. Move your USB drive to the top of the list to ensure your system will attempt to boot from it first.
Step 3: Save and Exit
Once the boot order is set, save your changes and exit the BIOS. Your Acer will now attempt to boot from the USB device upon restart.
Troubleshooting Common Boot Issues
Despite the simplicity of booting from USB, some users may encounter issues. Below are some common problems and their solutions:
Problem 1: USB Drive Not Detected
If your Acer is not detecting the USB drive, ensure it is plugged into a functional USB port. Try different ports if needed, and make sure the USB drive is properly formatted and bootable.
Problem 2: BIOS Settings Not Saving
If the BIOS settings are not saving, check if your laptop or desktop has a feature like "Secure Boot" enabled, which might be preventing the USB boot. Disabling Secure Boot might solve the problem.
Problem 3: Boot Loop or Error Messages
In case your computer enters a boot loop or shows error messages, ensure that the USB drive is properly formatted and the ISO image was created correctly. You can also try creating the bootable USB again using a different tool.
Buy Ninja Stik for Seamless USB Booting
If you’re looking for a hassle-free way to make sure your Acer laptop or desktop boots from USB without technical difficulties, check out the Ninja Stik. This tool simplifies the process and ensures you’re ready to go with minimal effort.
Whether you need a quick OS installation or want to troubleshoot a problem, the Ninja Stik can help make the process much smoother. Don’t waste time with complex setups—get your Ninja Stik now and enjoy fast, reliable USB booting.