Acer Aspire E15 Boot from USB Process: A Complete Guide
- Understanding the Boot from USB Process
- Preparing Your USB Drive for Boot
- Accessing the Boot Menu on Acer Aspire E15
- Common Issues When Booting from USB
- Additional Tips for Acer Aspire E15 Users
- Explore More with Ninja Stik
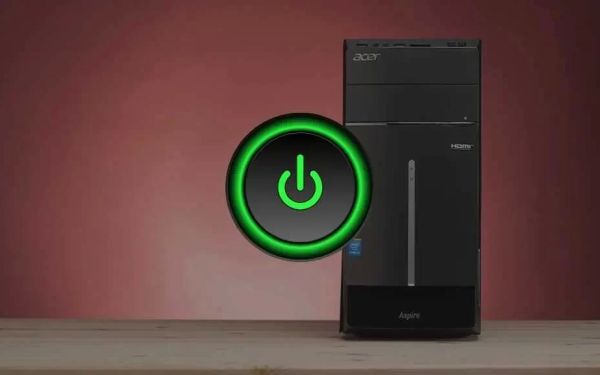
1. Understanding the Boot from USB Process
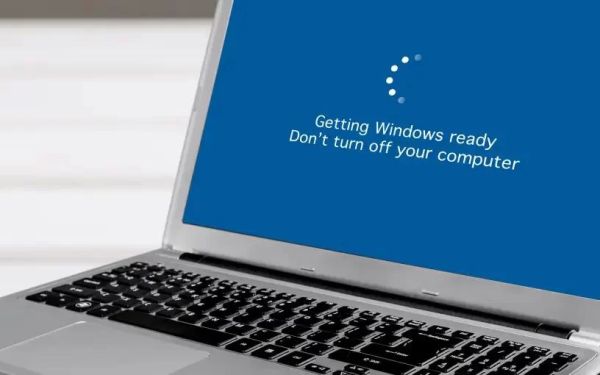
Booting from a USB drive is a common process for users who need to install an operating system, run recovery tools, or troubleshoot a system issue. On an Acer Aspire E15, this process involves accessing the boot menu and selecting the USB drive as the boot device. It’s important to understand why you might need to boot from a USB – whether it’s to install a new OS or to run a diagnostic tool – and how it can help resolve various computer issues.
Booting from USB allows you to bypass the internal hard drive and load a different operating system or tool directly from the USB drive. This can be extremely helpful for users who want to fix issues like a corrupted operating system or perform a clean installation of Windows.
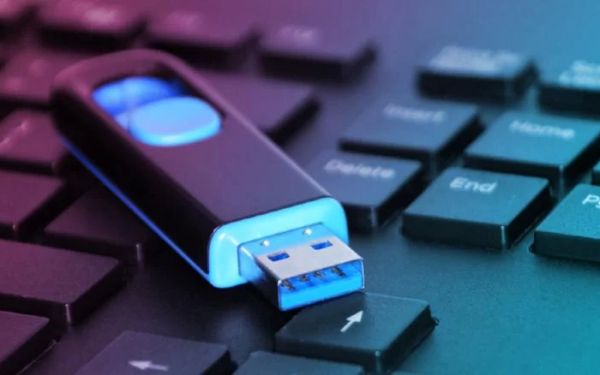
2. Preparing Your USB Drive for Boot
Before you can boot from a USB drive on your Acer Aspire E15, it’s essential to ensure that the USB drive is properly prepared. Here’s what you need to do:
- Format your USB drive: The USB drive should be formatted to the FAT32 file system for compatibility with the Acer Aspire E15. You can do this easily through Windows' "Disk Management" tool or using software like Rufus.
- Create a bootable USB: Download the operating system or recovery tool you want to install or run and use a tool like Rufus to create a bootable USB drive. Make sure the ISO file for the operating system is correctly selected and the USB is set as the bootable device.
- Check for space: Ensure that the USB drive has enough space to accommodate the operating system or recovery tool. A USB drive with at least 8GB of space is recommended for most OS installations.
Once the USB drive is properly prepared, it’s ready for use in booting your Acer Aspire E15 laptop.
4. Common Issues When Booting from USB
While the process is straightforward, there are a few common issues that can occur when trying to boot from a USB drive. Here are some of them and their solutions:
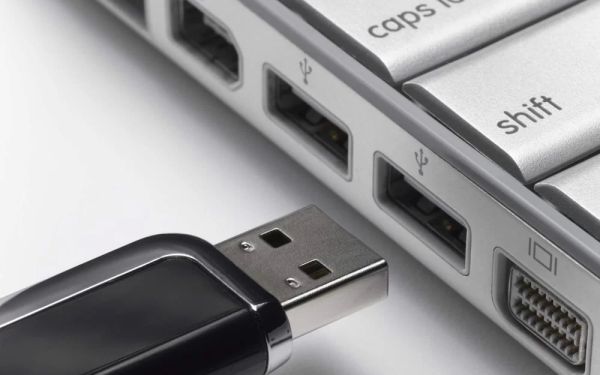
- USB not recognized: If the USB drive isn’t showing up in the boot menu, make sure the drive is properly formatted and contains a bootable OS or tool. Also, try using a different USB port or checking the USB drive on another device.
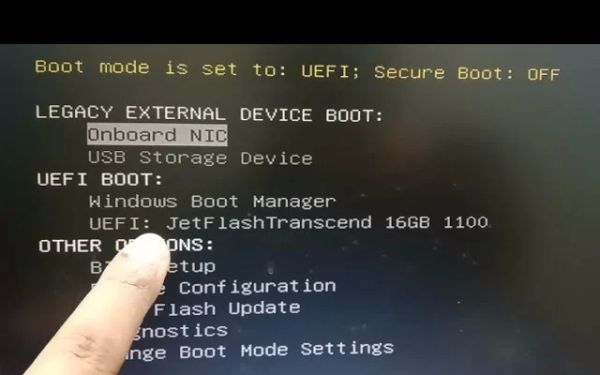
- Incorrect boot order: If the laptop is still booting from the hard drive instead of the USB, you may need to change the boot priority in the BIOS. To access the BIOS, press F2 during startup and navigate to the boot options to set the USB drive as the first boot device.
- Corrupted USB drive: If the USB drive doesn’t boot despite being properly formatted, it may be corrupted. Reformat the drive and recreate the bootable USB from scratch.
By troubleshooting these common issues, you can successfully boot from USB and continue with your task.
5. Additional Tips for Acer Aspire E15 Users
Here are some additional tips that can help you when booting from USB on your Acer Aspire E15:
- Update BIOS: Ensure that your BIOS is up to date, as newer versions may offer better compatibility with bootable devices. Visit the Acer support website to check for BIOS updates.
- Secure Boot: If you’re having trouble booting from USB, you may need to disable Secure Boot in the BIOS. This feature can sometimes block booting from non-approved devices.
- Use a Reliable USB Drive: Always use a high-quality USB drive to avoid issues with booting. Some lower-quality USB drives may cause problems during the boot process.
By following these tips, you can improve your experience when booting from USB and ensure a smooth installation or recovery process.
6. Explore More with Ninja Stik
If you're looking to optimize your laptop’s performance or enhance your boot process, consider exploring products from Ninja Stik. With tools that can help streamline your tech experience, Ninja Stik offers practical solutions for improving your device's functionality.
Want to learn more? Click here to explore Ninja Stik's products and services to elevate your tech experience!